Fire and cooking

This section will cover the area of bushcraft or outdoor learning that is perhaps most exciting, rewarding or daunting for practitioners and students alike. I never feel more ‘at home’ in a camp than when the fire is going well, there’s plenty of fuel near at hand, and a kettle of water is steaming contentedly. When I’m group leader however, and there is a gaggle of rambunctious young people around the fire we have built, I’m always on the alert and ready to take precautions against incidents that might make the occasion memorable for all the wrong reasons.
Involving children with fire and cooking in a Forest School or Outdoor Learning scenario
The use of cooking tools should be seen as an extension of the group’s established activity around a camp fire. Fire safety rules should be gone over as required, both at the beginnings of sessions involving fire, and with individuals when rules have been forgotten or disregarded.
Clients will generally be excited by the prospect of snacks and will lend their attention well when explaining how a tool is to be used to cook a snack. Other activities should be provided for those who are not interested, as here is the likeliest cause of safety troubles around the fire pit – when clients would rather be doing something else.
Teach through demonstration: Use safety equipment as you would like to see them use it. Approach the fire in the ‘respect’ pose you expect them to use. In all activities around the fire, be slow, gentle and purposeful.
Expect the full attention and involvement of adult helper(s) especially around cooking activities, and ensure they are positioned within reach of clients who are out of yours.

Food hygiene can be greatly improved through proper preparation. All eating and cooking implements should be spotless and cleaned up immediately after use. Foods should be taken directly from cold storage, if appropriate, and should be stored in clean, airtight containers until needed.
Ensure planning includes proper time for proper cooking. Low risk foods may be eaten raw or merely warmed or toasted (e.g. marshmallows, fruit) while other foods (e.g. meat) requires thorough cooking. A food safety and hygiene course (undertaken) will be beneficial.

Children can be encouraged:
· Dirty hands washed before cooking and eating if appropriate, and afterwards, using soap and water and clean towelling.
· Food dropped on the ground should not be eaten.
· Food scraps should be burned or disposed of appropriately (to avoid smells, scavengers, bacteria).
· Food can be checked with an adult if client is unsure if an item is cooked appropriately.
Check allergies and other dietary needs of clients before any session in which snacks are to be prepared and eaten. Ensure alternatives as necessary in case of dietary restrictions!
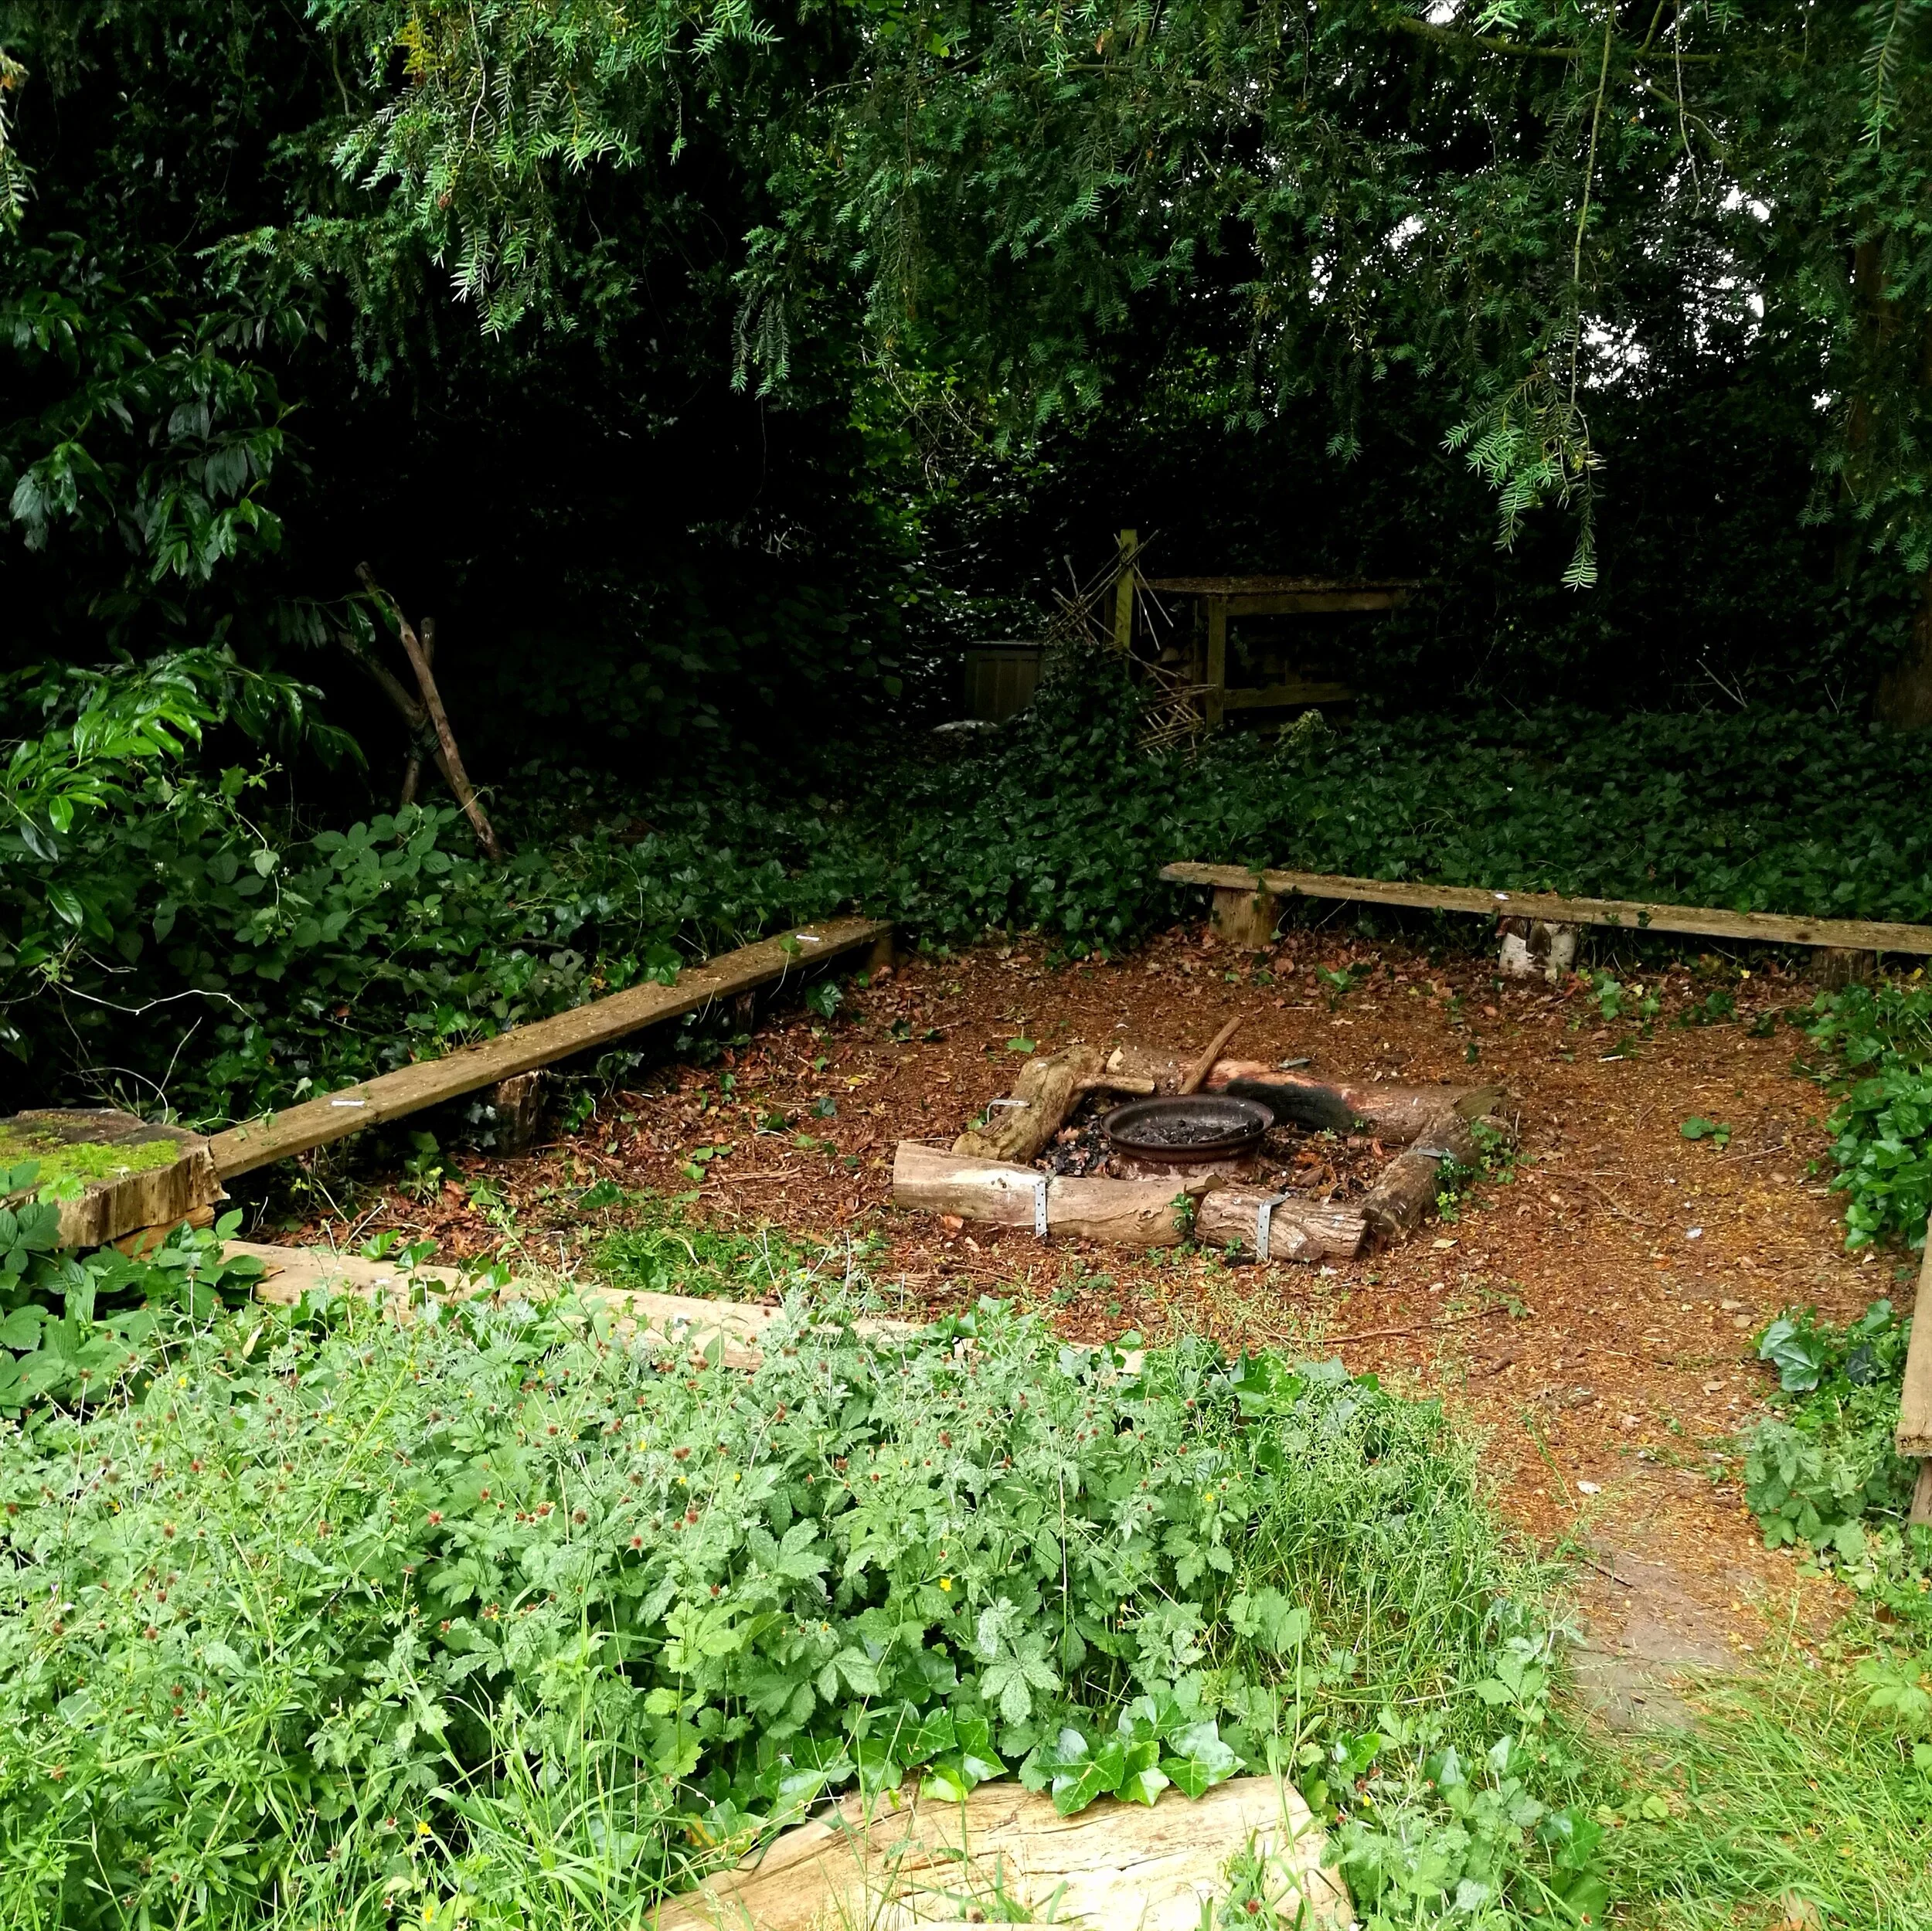
Choosing a fire site
All levels of the forest biome should be considered in siting a fire safely: avoid tree roots, overhanging branches, loamy soil or dry duff, and any places with obvious animal inhabitants, such as den or warren entrances. The fire should be situated away from heavy traffic areas on the property and allow for free and easy movement on all sides of the fire pit. Damp will make fire keeping difficult and a smoky fire is unpleasant to use – damp ground should be avoided or the fire pit raised above the level of damp. Fuel must be dry, well-seasoned and kept out of damp conditions.
The prevailing winds must be considered, such that smoke from a lit fire does not become a nuisance to adjacent landowners/users. Communication with neighbours may be key to maintaining good relationships with neighbours and other site users and presents a good example for the clients in safe and responsible fire management.
Engage clients in the discussion of why a fire site has been chosen and risk mitigated. Discuss features of the site which have needed to be altered or added in order to make the site suitable, e.g. a sand layer to protect the ground, a fire ring or bowl, suitable seating at a safe distance, fuel storage at a safe distance, clearing of encroaching brush, placement of fire buckets and first aid kit, etc.
Instruction for fire building/lighting:
In an established fire site, begin by placing a layer of medium-sized fuel sticks on the ground to prevent damp and to ensure good air flow.
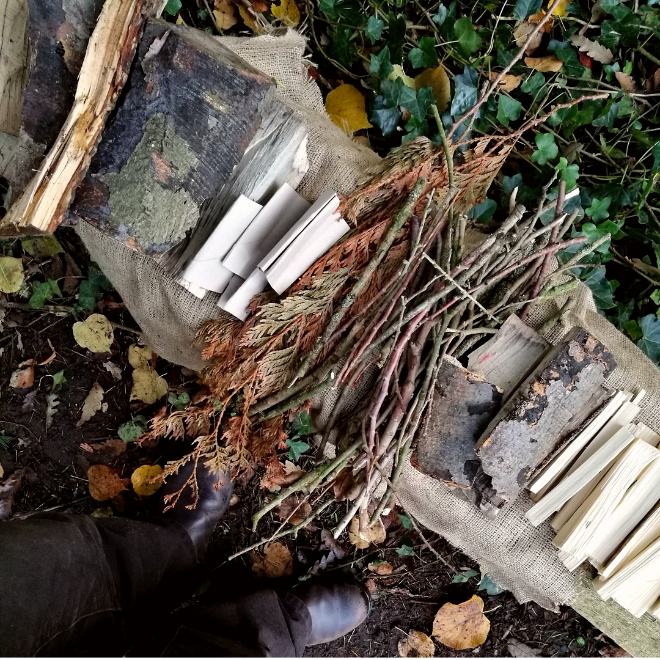
Combustibles should be arranged in advance of lighting the fire:
TINDER is the most easily flammable, finest of material (cotton balls, charcloth, birch bark and other natural materials)
KINDLING is anything up to pencil-size fuel sticks that will catch easily from live flame, but will burn for longer than tinder.
FUEL is anything larger that will not catch fire as quickly or easily as smaller fuel, but which burns steadily for a long time.
Place tinder bundle onto fuel bed, using an accelerant such as Vaseline in wet or cold conditions. Use the fire steel (see instructions for Tool 6) to light the tinder bundle and immediately hold a loose handful of kindling over the flame, keeping air flow constant around the catching fuel. It may be necessary to turn or rotate the kindling to encourage more of the bundle to catch fire. Gently place the kindling bundle onto the fuel bed once well alight and add increasingly large fuel wood. A fire fed one stick at a time initially is unlikely to burn well. Use plenty of fuel initially to establish a good core heat to the fire and to quickly develop a bed of coals.
Different wood burns at different rates and at different temperatures. It is important to consider that the smoke of some woods, such as oak, holly and yew, is toxic and irritating to mucus membranes. Softwood such as pine and spruce will burn hot but quickly, leaving little in the way of coals, while hardwoods such as maple, birch and fruit woods are best for cooking, create less smoke when properly seasoned, and provide and excellent bed of coals when properly managed.
Fuel logs will be added as needed, up to 20 minutes before the end of the session, to avoid wastage. Where possible, charred logs from previous sessions may be added to continue burning/increase coal bed.
Forest School Leader will primarily manage the fuelling of the fire and any necessary adjustments; however Leader may ask clients for their assistance once they have proven themselves trustworthy around the fire.
Clients desire to be involved with fire lighting and tending should be acknowledged as much as possible.
Fire safety and management in a Forest School or Outdoor Learning scenario
· Fires will not be lit in adverse conditions, such as drought or in high winds.
· All rules will be discussed in the initial fire sessions and reminders of these rules will be worked into the beginning of every fire session.
· Fires will never be left unattended. Either the forest school leader or a trained adult helper will remain with the fire at all times.
· All necessary safety equipment will be in place before a fire is lit, including a bucket of water, fire gloves, fire blanket, and first aid kit, as well as a phone to contact emergency services in the event of an accident.
· Clients and volunteers will respect the safety area around the fire pit: all will walk carefully between the seats and the fire square, never across the space between the fire square logs the fire ring. All who approach the fire will do so on one knee, in a ‘respect’ position which also allows for easy backwards movement in case of sparks or smoke.
· There will be no running or jumping in the fire pit area
· When an adult tells a client to do something – or not do something – it must be done right away or consequences will be enforced that will see the client, and/or the risk they pose, removed from the fire pit area.
Instructions for putting fire out
Fire should be burning at a low level, as no new fuel should be added in the last 20 minutes.
Spread coals out to ensure good exposure to dousing water, including flipping over logs burning mainly on their undersides.
Keep clients well back from fire pit as sparks and steam can erupt suddenly.
Put half a bucketful of water evenly over the burning coals (2-4L)
Stir ashes, flipping logs, looking for hot spots (this can be easier at night/in the dark)
Pour the rest of the water on and stir again. Check for logs still actively burning or escaped coals.
Repeat as needed until fire no longer sizzles. Waiting a few minutes will help you ensure that the fire is extinguished completely.
Use your hand just over the surface of the coals to check for residual heat.
If in doubt, or if clients must be moved on before the fire can be fully doused, an adult helper should remain with the fire while the FS leader attends to the clients and ends the session with them. The fire can be seen to properly afterwards.
Teaching through demonstration is key with fire safety in every aspect. Clients can be involved at every stage of fire dousing, including spreading to coals, adding water (with help, or using smaller pails that won’t overbalance them), stirring ashes, and checking for heat and sound. Teach them that it is not appropriate or safe to leave a fire unattended by never doing so yourself. Always explain your reasons and back it up with appropriate actions.
Special considerations
Some clients may struggle with transitions, and the dousing of a fire they had been enjoying counts as one. Preparation is key, beginning with the 20 minutes ahead of dousing, if the client is interested in and involved with the fire directly. Independent explanation for why we are no longer adding fuel will begin this preparation, and inviting the client to participate in the dousing of the fire (if appropriate) may help them feel more in control of the situation. With experience, this will become an expected routine of the session and will not be a point of anxiety for such clients. The dousing of a fire can create a loud noise and billowing steam. This will be exciting for some and startling for others. Be mindful of this, and prepare clients accordingly.
How to use a Fire Steel

Check fire steel
1. Take the fire steel out of the fire-making kit. It should have two parts: the ferrous rod with a handle, and a metal striker.
2. Visually inspect the fire steel, making sure it is intact, without rattle in the handle, and no visible damage to handle or any other part.
3. Keep lid on fire-making kit during damp or rainy weather.
Prepare your fire site, fire steel and tinder
1. Use the fire steel in a designated area, where there is less risk of setting ground material on fire with stray sparks.* Use a small fire bowl for practice fires.
2. Fluff up a cotton ball and (optional) dab it in accelerant, such as Vaseline, in damp or cold conditions. Place cotton ball in fire bowl or on fire site.
3. New fire steels have a black coating on the ferrous rod which will need to be scraped off with the striker, revealing the silver underneath.
4. Have tinder, kindling, and larger fuel to hand if intending to build a fire.
*This would be a miracle.
To spark a fire
1. Kneel on one knee, in a ‘respect the fire’ position (or, according to my y10 participants, act like you’re proposing to it), to allow for easy escape in case of a flare-up.
2. Practice striking the fire steel away from tinder and yourself. Place the sharper edge of the striker flat against the ferrous rod near the handle and scrape quickly down the length of the rod with a little force. Practice until you can confidently achieve a shower of sparks with each strike.
3. Point the fire steel at the cotton ball, with the tip on or very near the cotton ball.
4. Strike as you did in your practice run, pausing between strikes to watch the cotton ball for ignition.
5. When cotton ball is lit, immediately add further tinder, kindling, and then larger fuel if you are intending to build a larger fire.
To clean and store
Check fire steel for any obvious problem, such as a loose handle. If necessary, wipe dry before replacing in fire-making kit, complete with striker.
Twig Stove
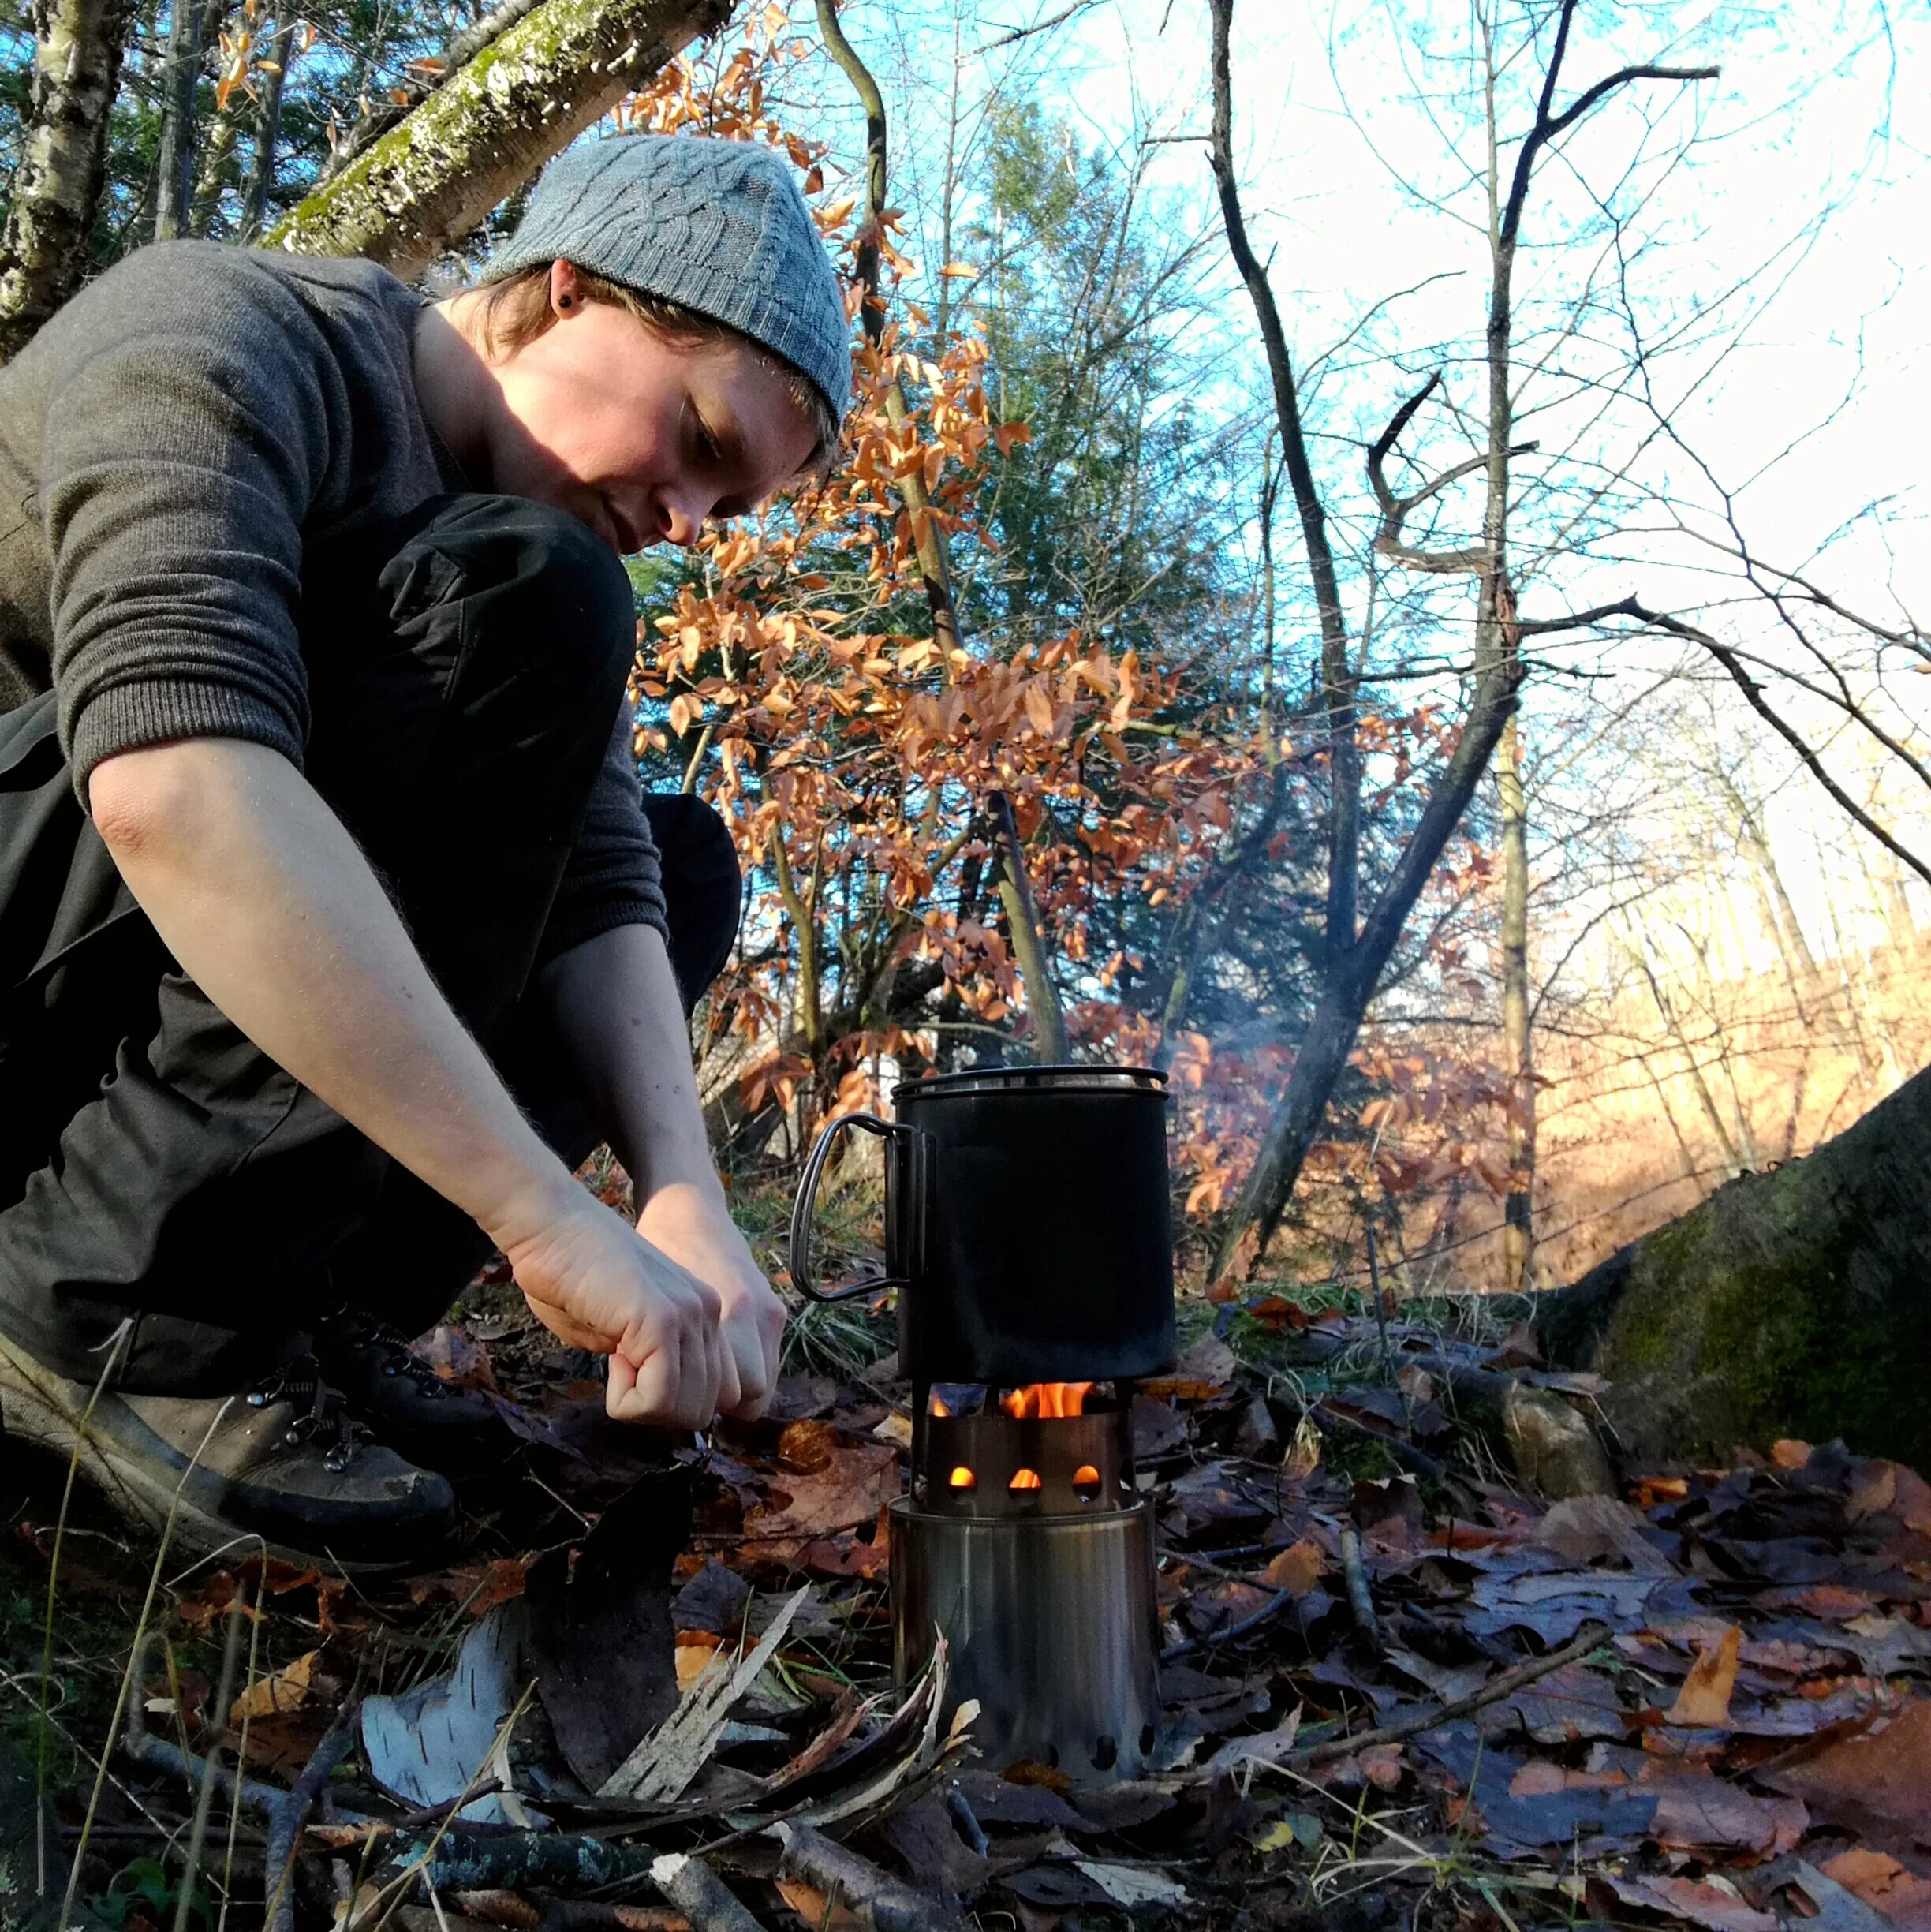
For reasons of time, or the nature of the session’s activities, a smaller, more contained or efficient fire may be desired. Twig stoves are also convenient to use if no permanent fire site is available, or fuel limited. Some kindling and a few dry twigs are all the fuel needed to quickly and efficiently boil a kettle or provide flames for stick-toasting at a moment’s notice. The fire is so contained as to be easily manageable and a good tool to practice with, for clients being given a little more independence in their bushcrafting journey.
Because of its need to be continually fed, it has a good ‘fiddle factor’ as it keeps idle hands busy while the pot is heating up.
Any food item requiring boiling water, or which can be heated in a pot (soup, beans, etc.) is suitable fare for the twig stove method. A small frying pan can also be heated over the stove.
Safety considerations for Forest School and Outdoor Learning scenarios
All safety procedures used for tool use and fire safety apply during a cooking session, including the use of these tools/the fire inside a dedicated safe-use area, briefing of adult helpers, emergency action plans, availability of first aid and an emergency phone.
Follow food safety guidelines about properly heating and reheating foods. Choose low-risk foods if time, conditions, numbers or other factors would make following full cooking instructions for raw foods difficult. Consider pre-cooking some snack items immediately before a session, for final re-heating on the fire.
Stove may be hot during or after use. Care must be taken to ensure that all coals are extinguished before the stove is dismantled or packed away.
Tongs or fire gloves are useful in placing, turning, and retrieving food, a kettle or frying pan.
Using the twig stove
Ensure that the twig stove is placed on a stable, non-flammable surface, such as bare earth, sand, or rock. The base should not heat up very much, however burning material may spark from the stove and so caution should be taken.
Place a combination of dry tinder and kindling in the stove, making sure the plenty of air can get to the fuel (the stove is a gasifier and so air vents/mesh will need to be kept fairly clear of material).
Have a decent amount of fuel twigs ready to one side of the stove within easy reach – finger-sized fuel will burn efficiently and stop clients needing to be constantly feeding the fire. Have these suitably short to fit through the hole in the top of the stove. A variation that works really well is the ‘Swedish candle’ method, of standing short fat pieces of wood upright in the fire box with kindling material between, before lighting the stove. This ensures a long, even, predictable burn with little need for adding fuel.
Once the fire is going well, place your pot on top of the stove, taking care that it’s well balanced. Keep a lid on the pot for more efficient heating.
Feed the fire regularly, and give it a little poke down in the fire box occasionally to ensure good air flow and that ashes are falling through into the ash box.
Proceed as needed, once the pot is boiling. For beans or soups, stir regularly to avoid food burning to the bottom of the pot.
Clearing up
Remove the pot from the stove and allow fire to die down naturally. Avoid shocking the metal; don’t douse the fire unless unavoidable. Tip ashes out of the stove once it is cool to the touch and sweep up ashes for proper disposal, or use water to drench the fire site. Clean and dry the stove thoroughly before long storage.
Ghillie (or Storm) Kettle
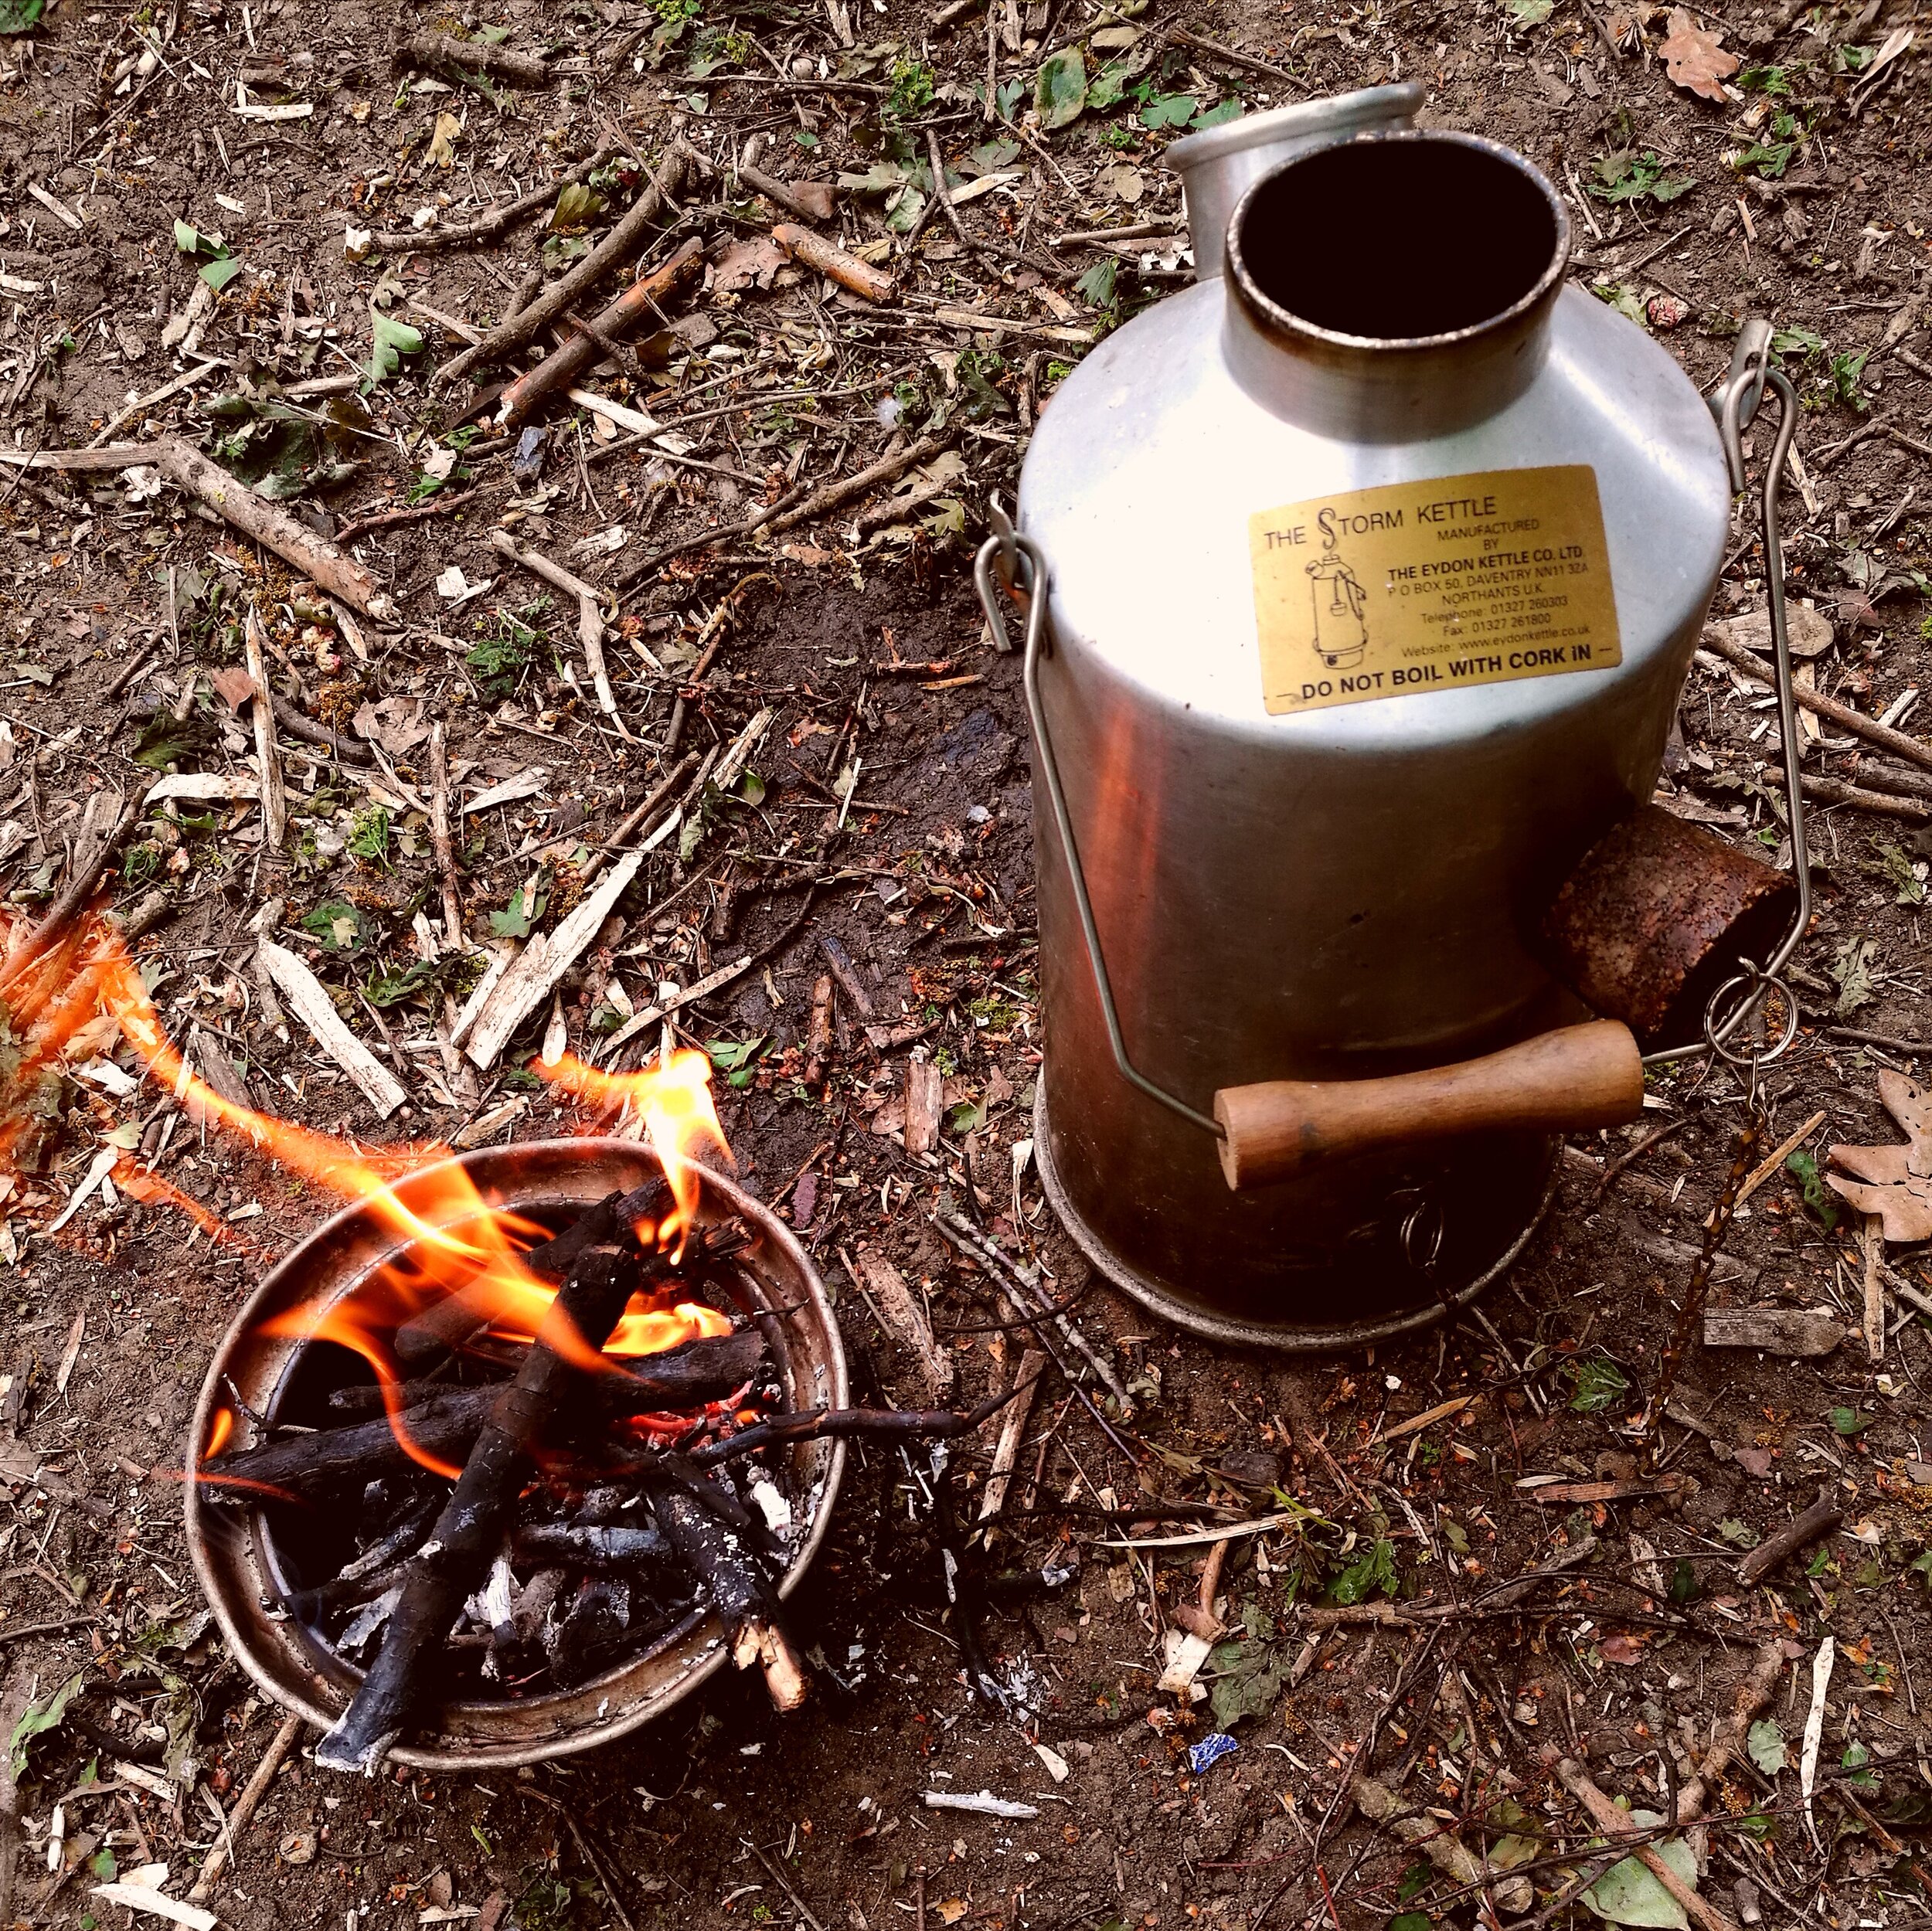
A cylindrical container for WATER ONLY which sits over an integral fire box in which a small wood fire is made. The inner wall of the cylinder acts as a chimney for the fire and allows a large surface area for the swift heating of the water contained within the kettle walls. The fire may be fed with small twigs dropped carefully down the chimney. A hole in one side of the fire box allows air to draw into the box and fuel the fire with oxygen – a temperamental but efficient base camp cooking tool, appropriate even where open fires are disallowed and leave-no-trace practice desired.
Water only must be heated using the kettle, but this may be used to prepare a range of hot drinks including tea, coffee and hot chocolate, or to rehydrate cup soups, noodles, etc. Once the kettle is removed, the fire box can be used to toast marshmallows to add to hot chocolate.
Safety considerations for Forest School and Outdoor Learning scenarios
The cork or stopper MUST be removed from the spout of the kettle and hooked over the handle to prevent steam explosion. The kettle must be moved using the handle in a downward position, and the stopper chain used to tip the kettle and pour, to prevent burns from the heat emanating from the chimney, or from the outer walls of the kettle.
Using the kettle
Ensure that kettle is clean and in good working order, with handle, stopper and chain secure and intact.
Fill kettle with clean water, leaving a margin below the spout to prevent spitting of boiling water. DO NOT REPLACE STOPPER, but hang stopper out of the way over handle.
Site the fire box on a flat, stable surface away from flammable brush or ground cover.
Prepare to create a fire in the fire box (see instructions for FIRE STEEL, or use a lighter or matches), choosing fuel small enough to fit down inside the fire box to allow the kettle to sit evenly on top. Have additional fuel to one side ready to feed into chimney.
Allow fire to catch and build before replacing kettle onto fire box. Watch that the vent hole in the side of the fire box does not get clogged with ash or unburned fuel.
Feed the fire down the chimney, being careful not to burn fingers.
When kettle boils, lift it off the fire box using handle kept in downwards position, and use stopper chain to tilt and pour water into cups and bowls.
Clearing up
Allow kettle to cool and fire to die down in the fire box. Water may be poured into the fire box to quench fire if site will allow. When fire box is cool to the touch, tip out ashes into a suitable receptacle or ash pile and rinse it clean. Pour out unused cooled water and reassemble kettle, replacing stopper. Kettle should be allowed to dry out completely between uses in a suitable place.
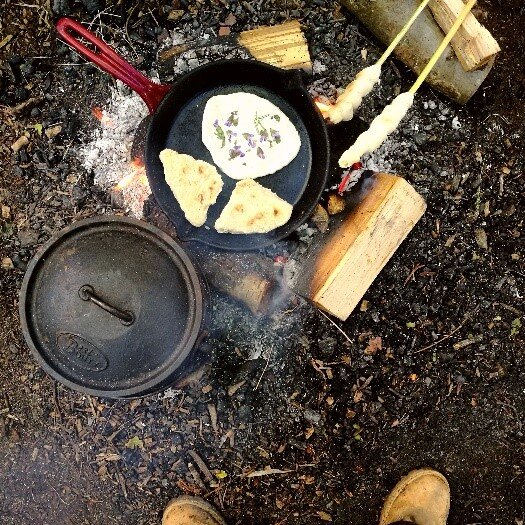
Grilling
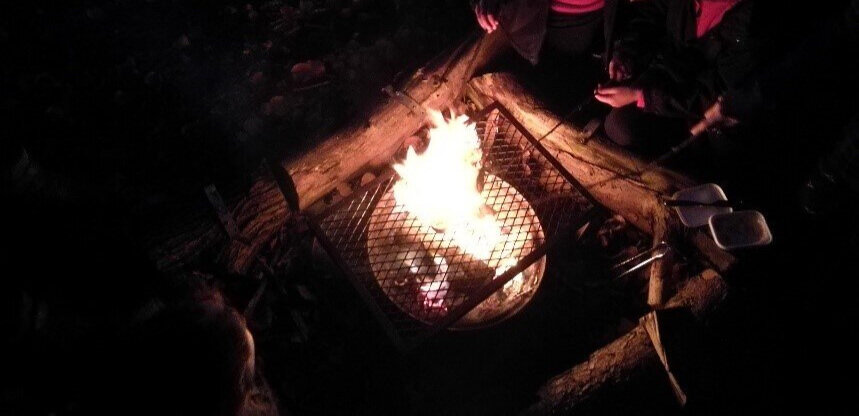
Once a fire has been lit and flames/a bed of coals is established, a grill may be placed over the fire to quickly and easily cook many different food items, either directly or wrapped in aluminium foil.
Toast with butter, cheese toasties, s’mores, baked bananas with or without chocolate, baked potatoes, bacon, etc. are all easy snacks cooked using this method.
A kettle or frying pan can also be heated over the fire if placed on the grill.
Safety considerations for Forest School and Outdoor Learning scenarios
All safety procedures used for tool use and fire safety apply during a cooking session, including the use of these tools/the fire inside a dedicated safe-use area, briefing of adult helpers, emergency action plans, availability of first aid and an emergency phone.
Follow food safety guidelines about properly heating and reheating foods. Choose low-risk foods if time, conditions, numbers or other factors would make following full cooking instructions for raw foods difficult. Consider pre-cooking some snack items immediately before a session, for final re-heating on the fire.
Only the FS leader or a designated adult should place, move, or remove the grill from the fire.
Clients may use a large grill several at a time, with each taking responsibility for their own snack and comparing each other’s results in terms of heat and cooking time.
Tongs or fire gloves are useful in placing, turning, and retrieving food, a kettle or frying pan.
Using the grill
Ensure that the grill has a stable base that will allow it to sit a few inches over the fire, which should be well-established.
Place it using fire gloves and establish that it is well seated and will not rock or tip during use.
Allow grill to heat up for a few minutes before use, and brush it clean of any debris.
Decide where to toast your snack. Over coals will allow faster, more controlled heating than over flame.
Turn or check regularly to ensure even cooking and no burning. This is equally important for foil-wrapped snacks as plain ones. Snacks can be replaced on the grill for further cooking if needed.
Allow snack to cool slightly before tasting.
Clearing up
Grill can be left in place throughout the session, or removed to a safe place to cool down, if a designated place has been established for this purpose. Only a designated adult should move the grill. A grill with food residue will collect bacteria and attract scavengers and so should be cleaned with soap and water, and oiled to prevent rusting if necessary. Extinguish the fire at the end of the session as normal.
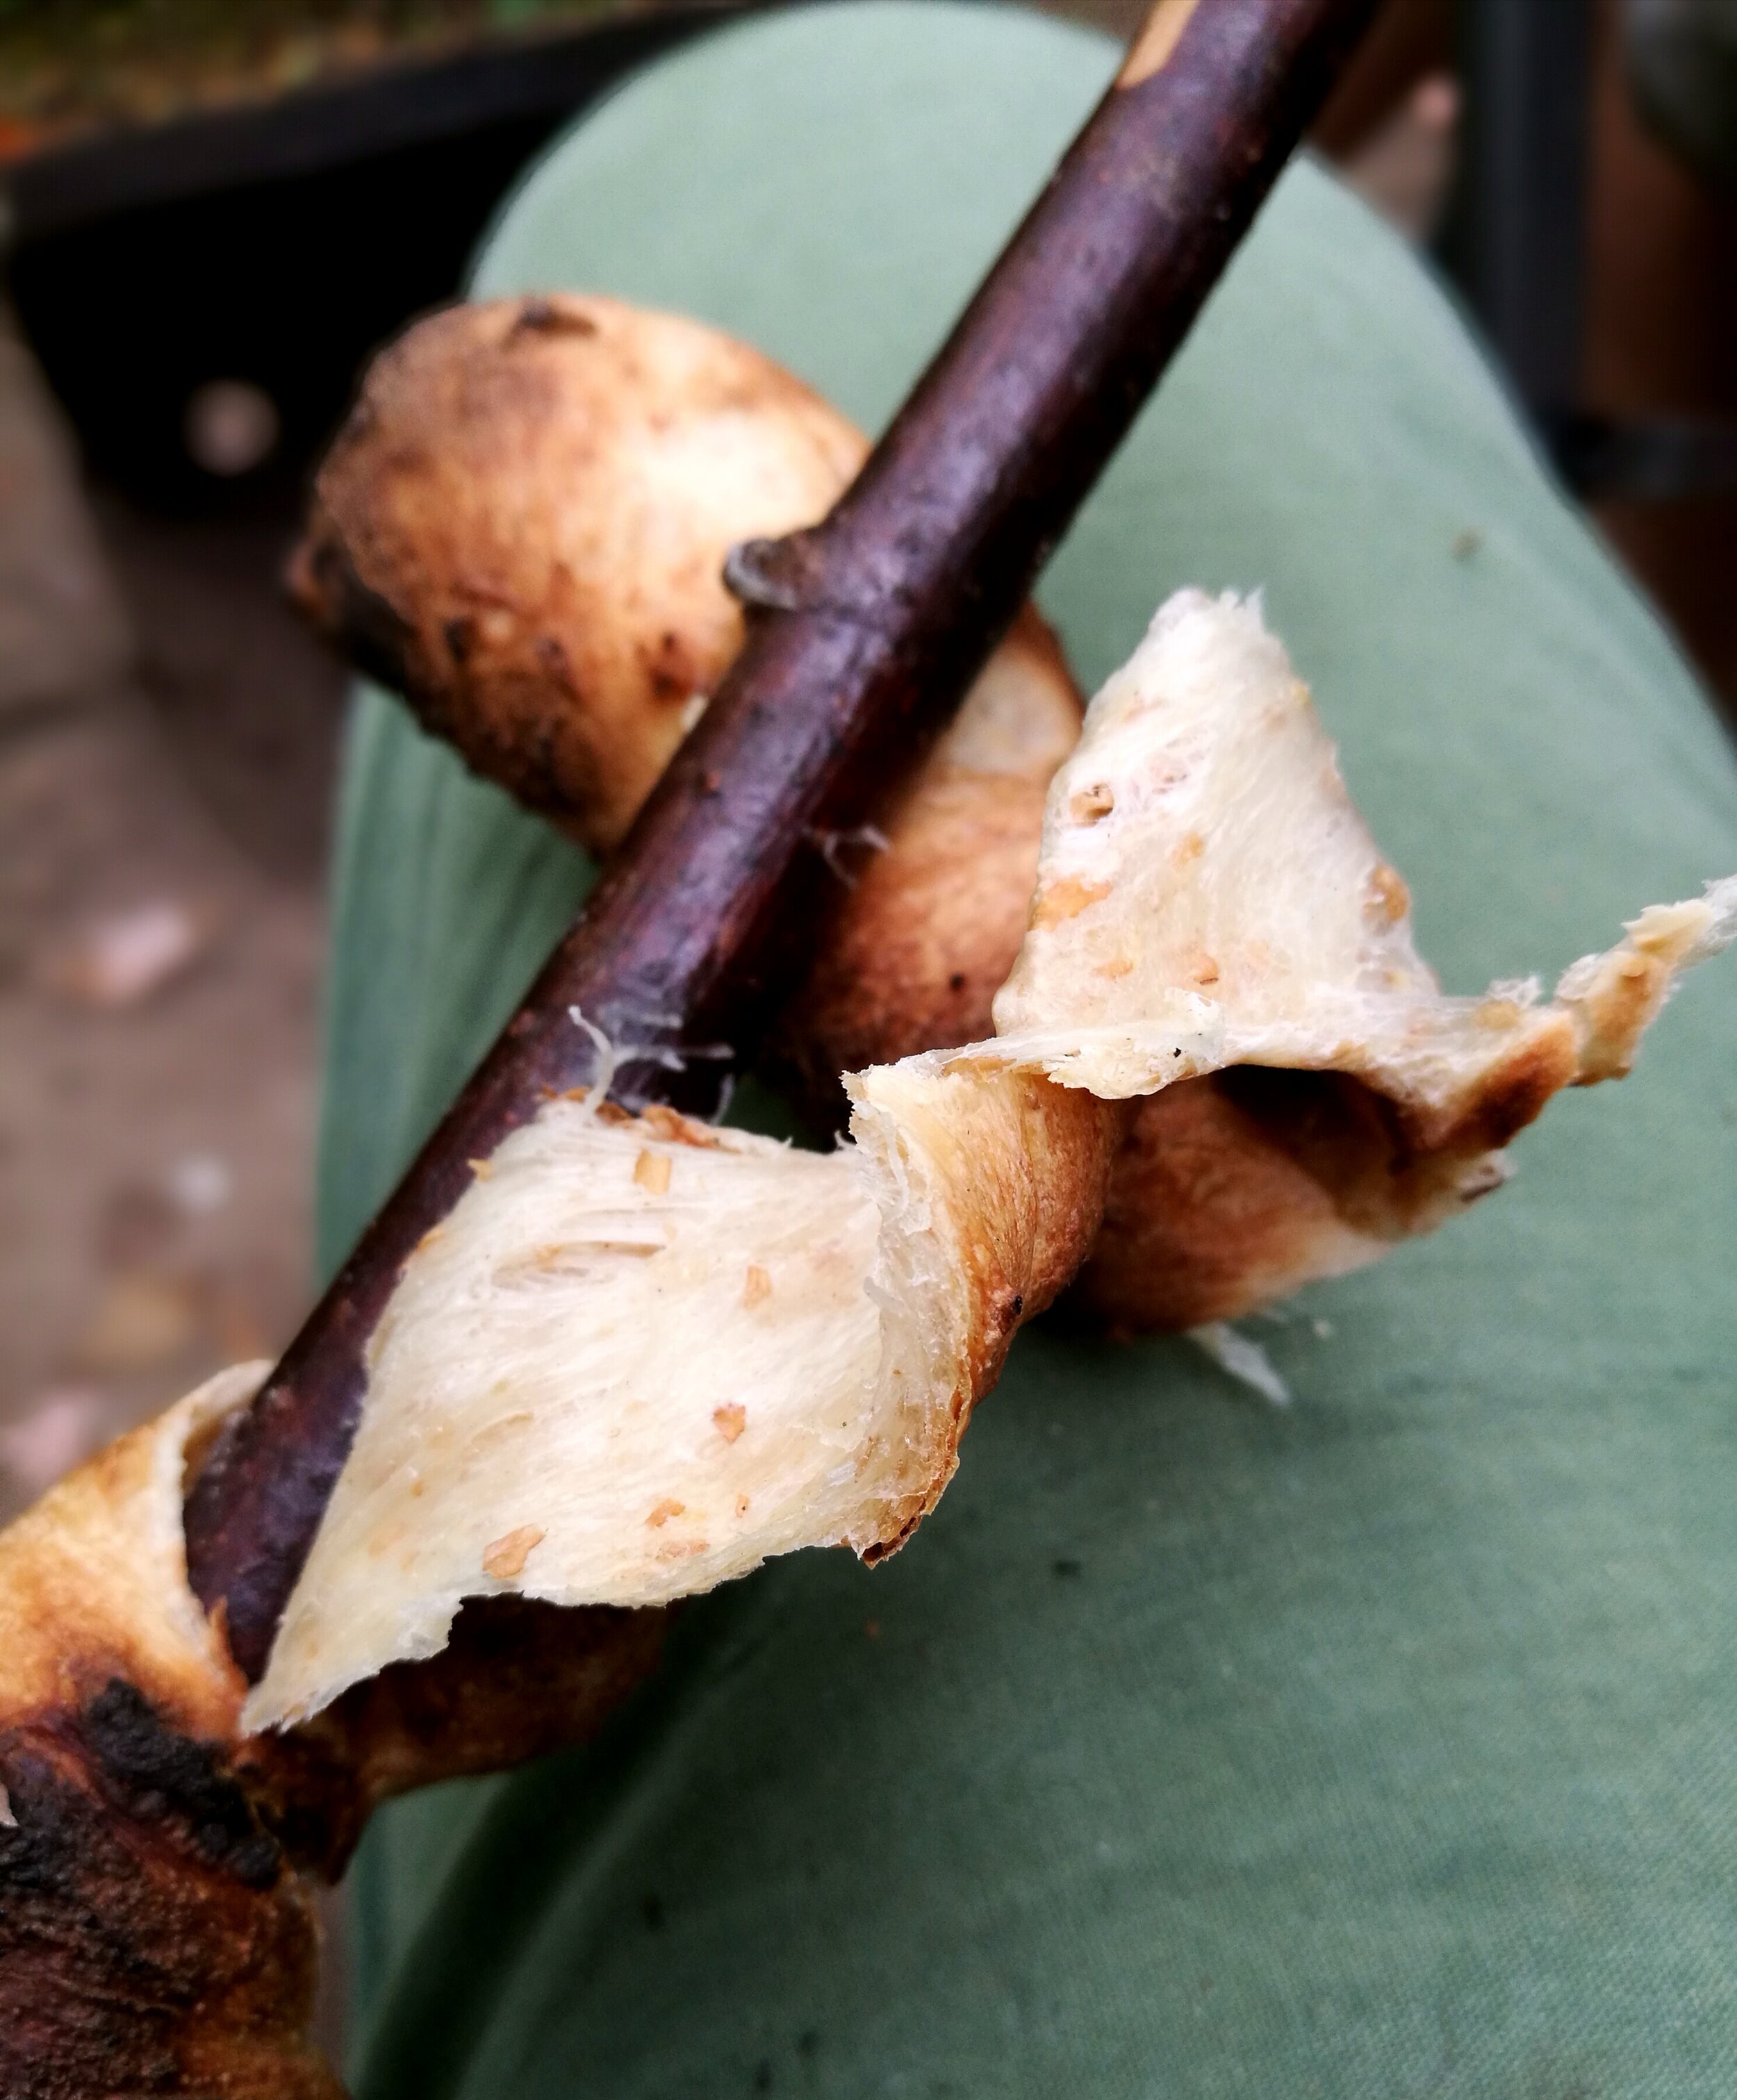
Toasting
Once a fire has been lit and flames/a bed of coals is established, clients may used sharpened sticks to toast many different food items over the fire.
One craft/tool use opportunity is for clients to source and whittle their own toasting sticks for use during snack preparation. Green wood is preferable to dry, dead wood as it is less likely to catch fire while in use. Stick should be long enough to keep clients hands a safe distance from the fire, but not so long they become a tripping hazard to others.
Safety considerations for Forest School and Outdoor Learning scenarios
All safety procedures used for tool use and fire safety apply during a cooking session, including the use of knives/the fire inside a dedicated safe-use area, briefing of adult helpers, emergency action plans, availability of first aid and an emergency phone.
Follow food safety guidelines about properly heating and reheating foods. Toast low-risk foods if time, conditions, numbers or other factors would make following full cooking instructions for raw foods difficult. Consider pre-cooking some snack items immediately before a session, for final re-heating on the fire.
Some woods are toxic and should not be used to create toasting sticks, e.g. holly and yew. FS Leader should establish with clients which bushes or trees will yield useful, safe toasting sticks OR provide them pre-cut.
Using a toasting stick
Ensure that sharpened end of the stick is clean and ready to use.
Skewer food (marshmallows, cherry tomatoes, croutons, cocktail sausages, etc.) securely onto stick.
Decide where to toast your snack. Over coals will allow faster, more controlled heating than over flame.
Put snack near to, but not touching, coals or flame, turning or checking regularly to ensure even cooking and no burning.
Allow snack to cool slightly before tasting.
Clearing up
Used sticks can be snapped and put on the fire to burn, to avoid leaving food odours around the site that would attract scavengers. Extinguish fire at end of session as normal.