Tools
Safety Considerations For All Tool Use Sessions
· Sharp tools must be used under the supervision of the Forest School Leader or a designated adult helper.
· Tools must only be used within a designated ‘Safe Tool Use’ area – a roped off area with a single entry point.
· Clients will be taught how to use each tool before they may begin crafting using the tool.
· Condition of all tools will be checked by Forest School Leader before session commences.
· Tools will be checked out and into the tool bag at the beginning and end of the session.
· Tools will be used by one client at a time, partnered with a second client who will be ‘helper’ until it is their turn to use the tool.
· All adult helpers will be briefed in advance of a tool use session about what tools will be used, the proper care and use of those tools, and the nature of the crafting activity.
· All instructions will be demonstrated, provided verbally and in writing, with illustrating photographs. If some time has passed since instruction in the use of a tool was last given, the instruction will be given again, or at any time at the request of a client or if it is felt necessary.
· A first aid kit will be available, and all participants will know the location of the first aid kit (at entrance to tool use area). The Forest School Leader and at least one other adult will be a trained first aider.
· An emergency action plan will be discussed with all adult helpers in advance of a tool-use session, and an emergency phone will be available to call for help in the event of a serious accident. There will be a Nurse on-site and near by during every Forest School session.
· Clients who do not demonstrate safe use of a tool will first be reminded of how the tool should be safely used. Repeated failure to follow safety instructions will result in the client being moved to other activities where safety is not a concern. The tool may be revisited for that client at the discretion of the Forest School Leader.
How to use loppers
CHECK LOPPERS

Choose loppers. Large loppers are for branches up to a 2p in diameter. Use small loppers for branches up to 1p in diameter.
Take loppers out of the tool bag.
If you need to put them down, put them on a groundsheet.
Visually inspect loppers. Any loose or missing bolts? Any cracks or other problems with handle? Anvil broken? If no, proceed.*
Open loppers wide. Place blade arm over shoulder. Anvil should be topmost part of head.
Look at blade – any nicks, chips or bend? If no, proceed.*
(OPTIONAL) Check sharpness of blade. Run pad of thumb across NOT down the blade. Blade should catch on ridges of thumbprint.
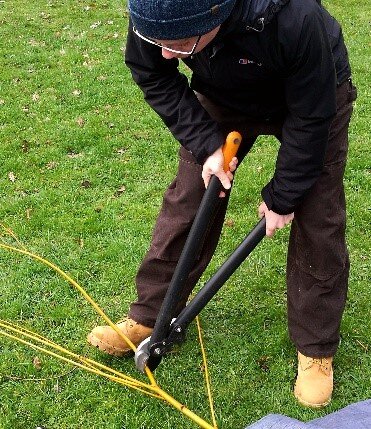

WALK to branch you wish to cut. Walk with loppers closed under arm and blade forward and angled down.
TO CUT
Choose branch.
Cut close to base. Angle cut if possible.
If cutting loose branches, raise branch off ground with log, boot, or other brace.
Keep lopper blade off ground if possible to avoid wetness.
TO CLEAN AND STORE
Open loppers wide. Place blade over shoulder. Anvil should be topmost part of head.
Look at blade – any nicks, chips or bend? If no, proceed.*
Wipe blade free of dirt and moisture with oiled cloth.
Close blade.
Return loppers to tool bag.
*Report any problems to your Forest School Leader.
How to use a knife (basic whittling)

CHECK KNIFE
1. Sign knife out of tool bag.
2. Take knife out of the tool bag.
3. If you need to put it down, put it on a groundsheet.
4. Carefully take knife out of sheath (it may stick or click)
5. Visually inspect the blade. Any nicks, chips or bend? If no, proceed.*
6. Inspect the handle. Any cracks, rattle, or other problems? If no, proceed.*
7. (OPTIONAL) Check sharpness of blade. Run pad of thumb across NOT down the blade. Blade should catch on ridges of thumbprint.
SIT or STAND IN A BRACED POSITION (e.g. with back against a tree) before beginning to use the knife. Replace knife in sheath if you need to walk with it.
TO CUT

1. Ensure that no one is standing within arm’s length (i.e. your ‘blood bubble’)
2. Hold stick firmly in non-dominant hand (i.e. left hand if you are right-handed, right hand if you are left-handed). Keep fingers away from end you wish to cut.
3. Always cut away from yourself.
4. Place blade on stick and press with firm, even pressure. Knife should cut easily. Take care when applying more pressure.
5. Keep angle of blade shallow to avoid catching the blade on wood. Only try to take off a small layer of wood at a time
6. For added control, place the flat (dull) side of blade against knee under knee cap. Blade should be horizontal and gripped firmly in dominant hand. Draw stick against the blade, running it parallel to your leg. (This is called ‘Gypsy’s knee’ whittling)
TO CLEAN AND STORE
1. Look at blade – any nicks, chips or bend? If no, proceed.*
2. Wipe blade free of dirt and moisture with oiled cloth.
3. Replace blade firmly in sheath. (It may stick or click)
4. Return knife to tool bag.
5. Sign knife back in.
*Report any problems to your Forest School Leader
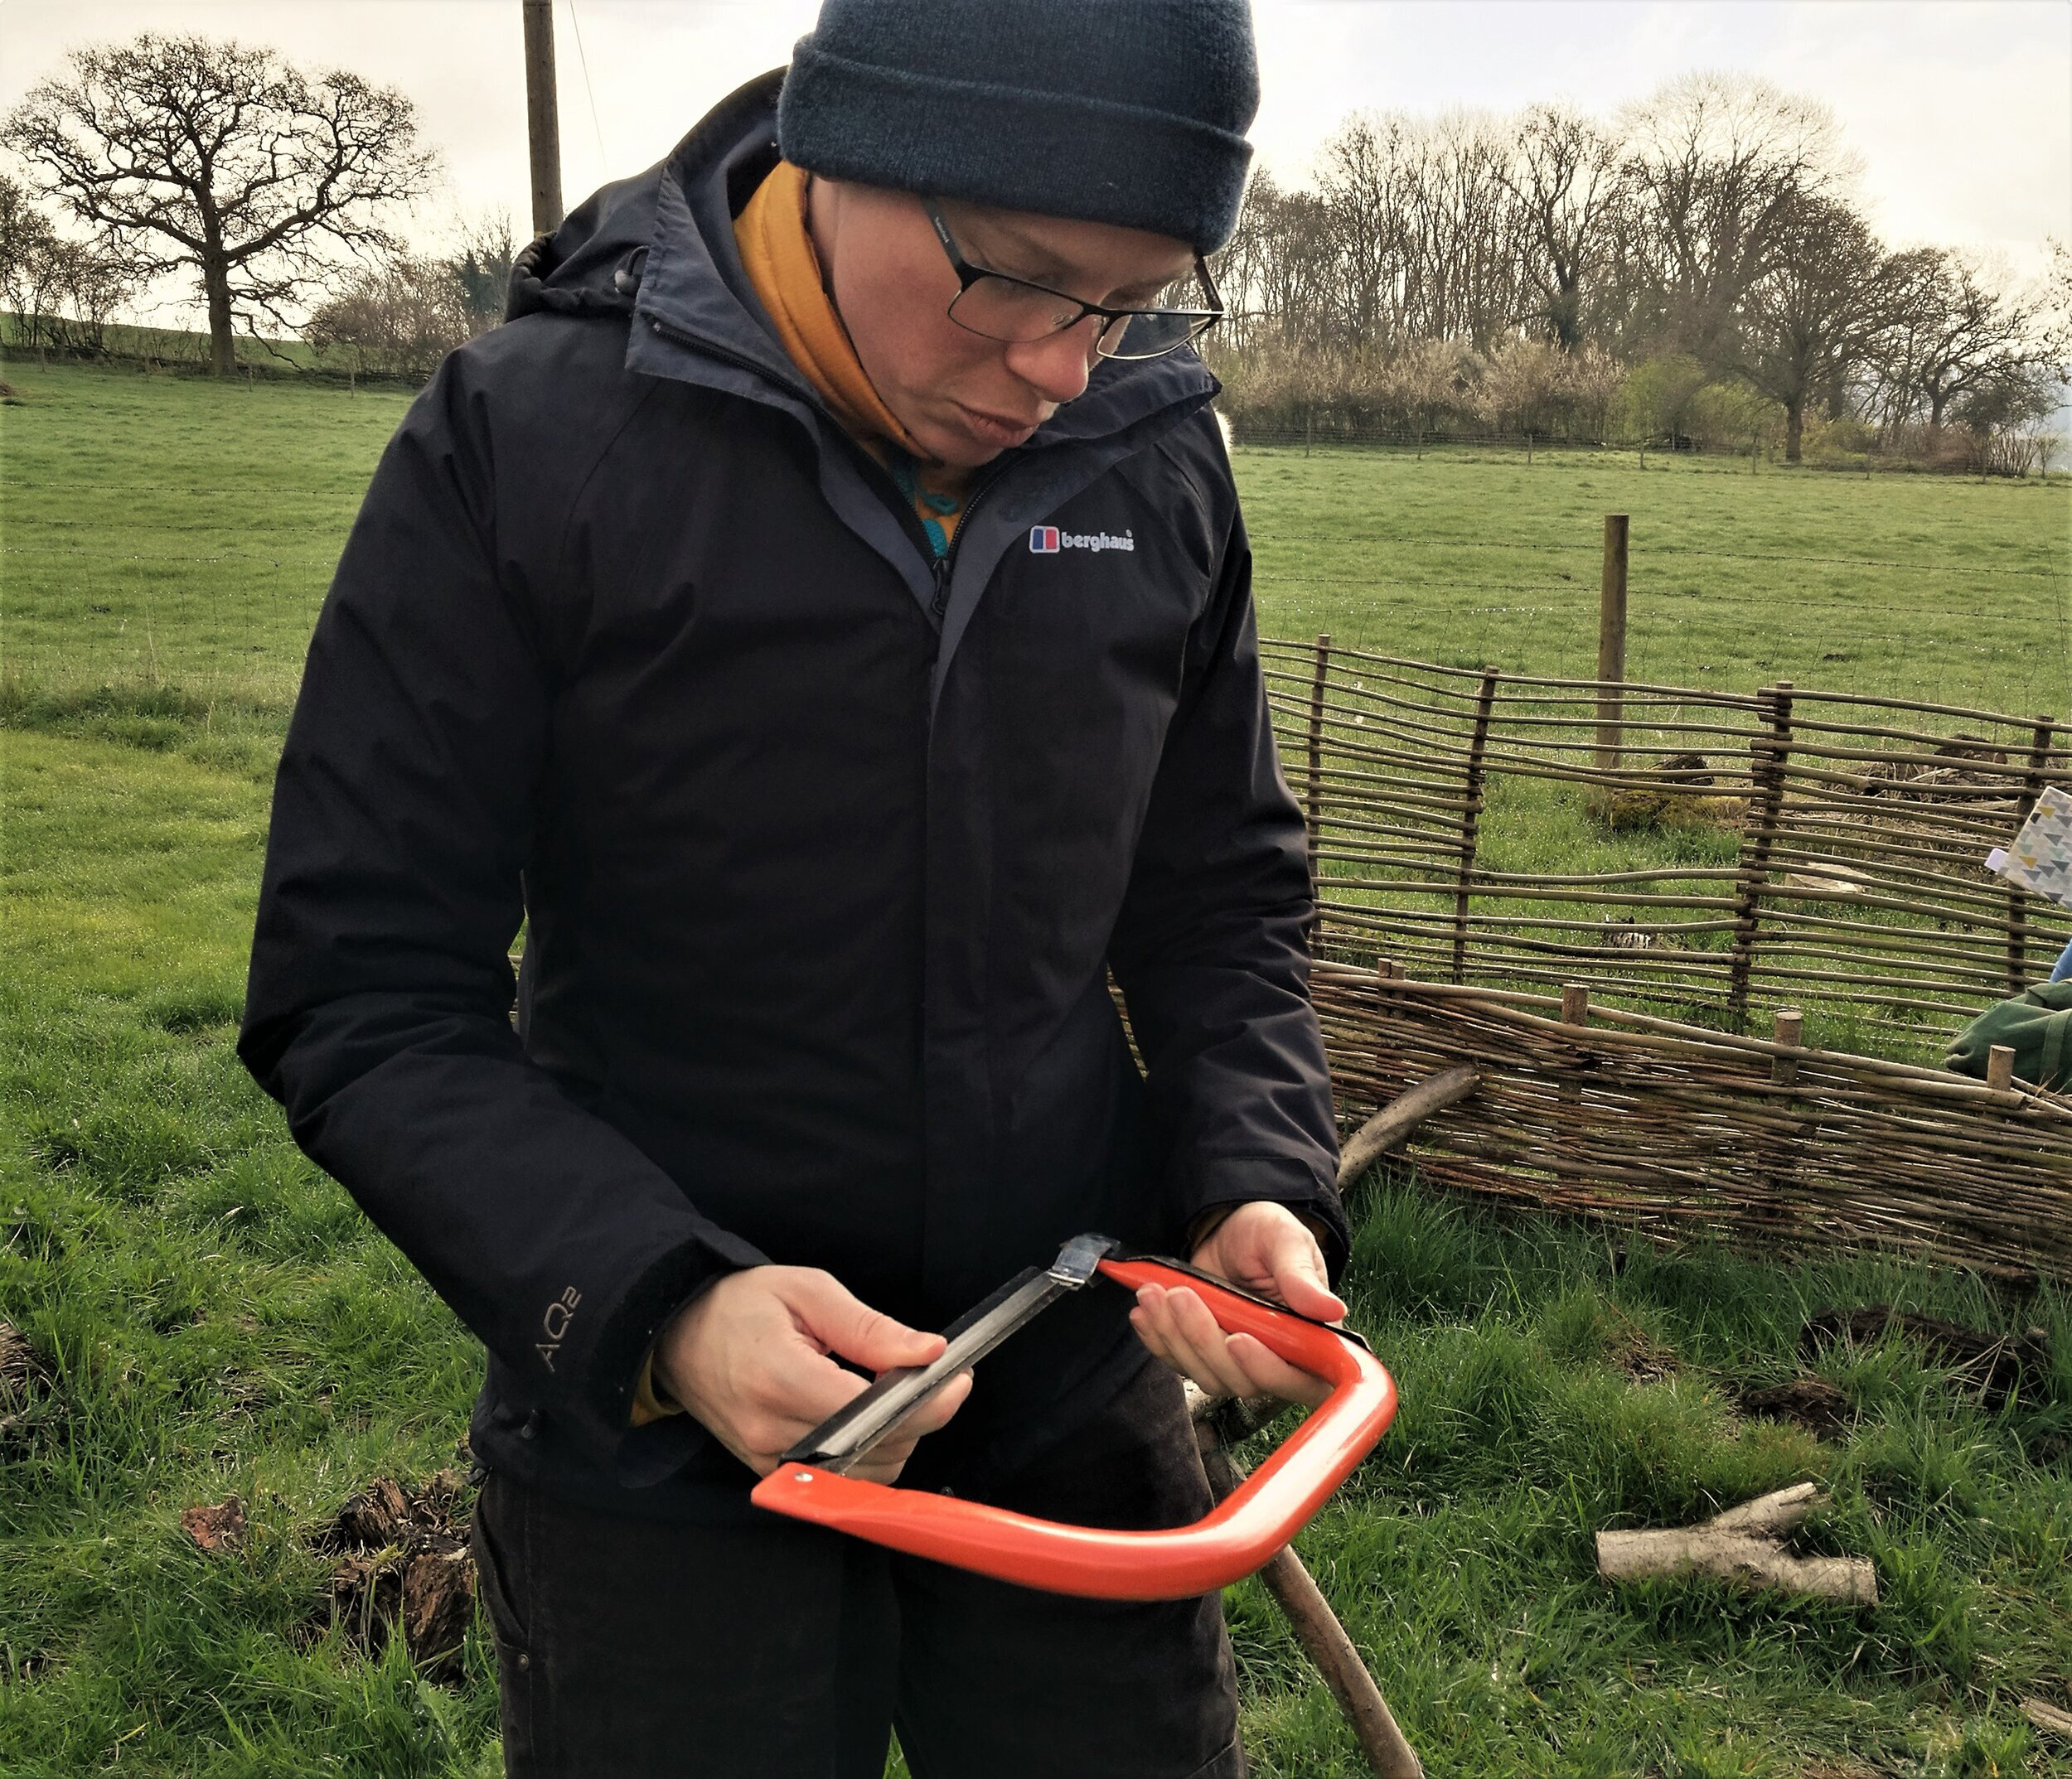
How to use a bow saw
CHOOSE AND CHECK BOW SAW
1. Take saw out of the tool bag.
2. If you need to put it down, put it on a groundsheet.
3. Visually inspect the saw. Is the blade cover in place and intact?
4. Check the rest of the saw, making sure it is tight, without rattle, and with no visible damage to handle or any other part.
5. Carefully remove the blade cover and visually inspect the blade. Some rust is expected but report excessive rust. Any bend, missing teeth, or other problems? If no, proceed.*
PREPARE TO CUT
1. Put a protective glove on your non-working hand.
2. Stand in a secure position and ensure no one is in the way of cutting (sawing should take place in a secure tool use area).
3. Brace wood in a saw horse or against a stable surface such as a heavy log (a partner may help brace the wood, both hands out of the way). Gloved hand should steady the wood to be cut.

4. Ensure the part to be cut is overhanging the sawhorse/log and the sawblade has enough room to work.
TO CUT
1. Cut parallel with your body for power, accuracy and control.
2. Begin by drawing the saw a few times at the place you wish to cut to create a groove and prevent skipping.
3. Use the full length of the blade when sawing back and forth. Saw steadily and keep the saw perpendicular. Allow the weight of the saw to progress the cut (too much pressure may cause the blade to catch and stick).
4. Be aware of your progress and ensure you have control of the saw when it cuts through the branch to avoid swinging the saw, or knocking your knuckles against the braced wood.

TO CLEAN AND STORE
1. Look at blade – any missing teeth, or bend? If no, proceed.*
2. With gloved hand or toothbrush, pick blade free of sawdust.
3. Ensure saw is dry before storage – it may be necessary to leave it in a warm, dry place before returning it to storage.
4. Oil may be applied as necessary, from back side of blade.
5. Carefully re-cover blade with sheath.
6. Put it away in the toolbag.
*Report any problems to your Forest School Leader
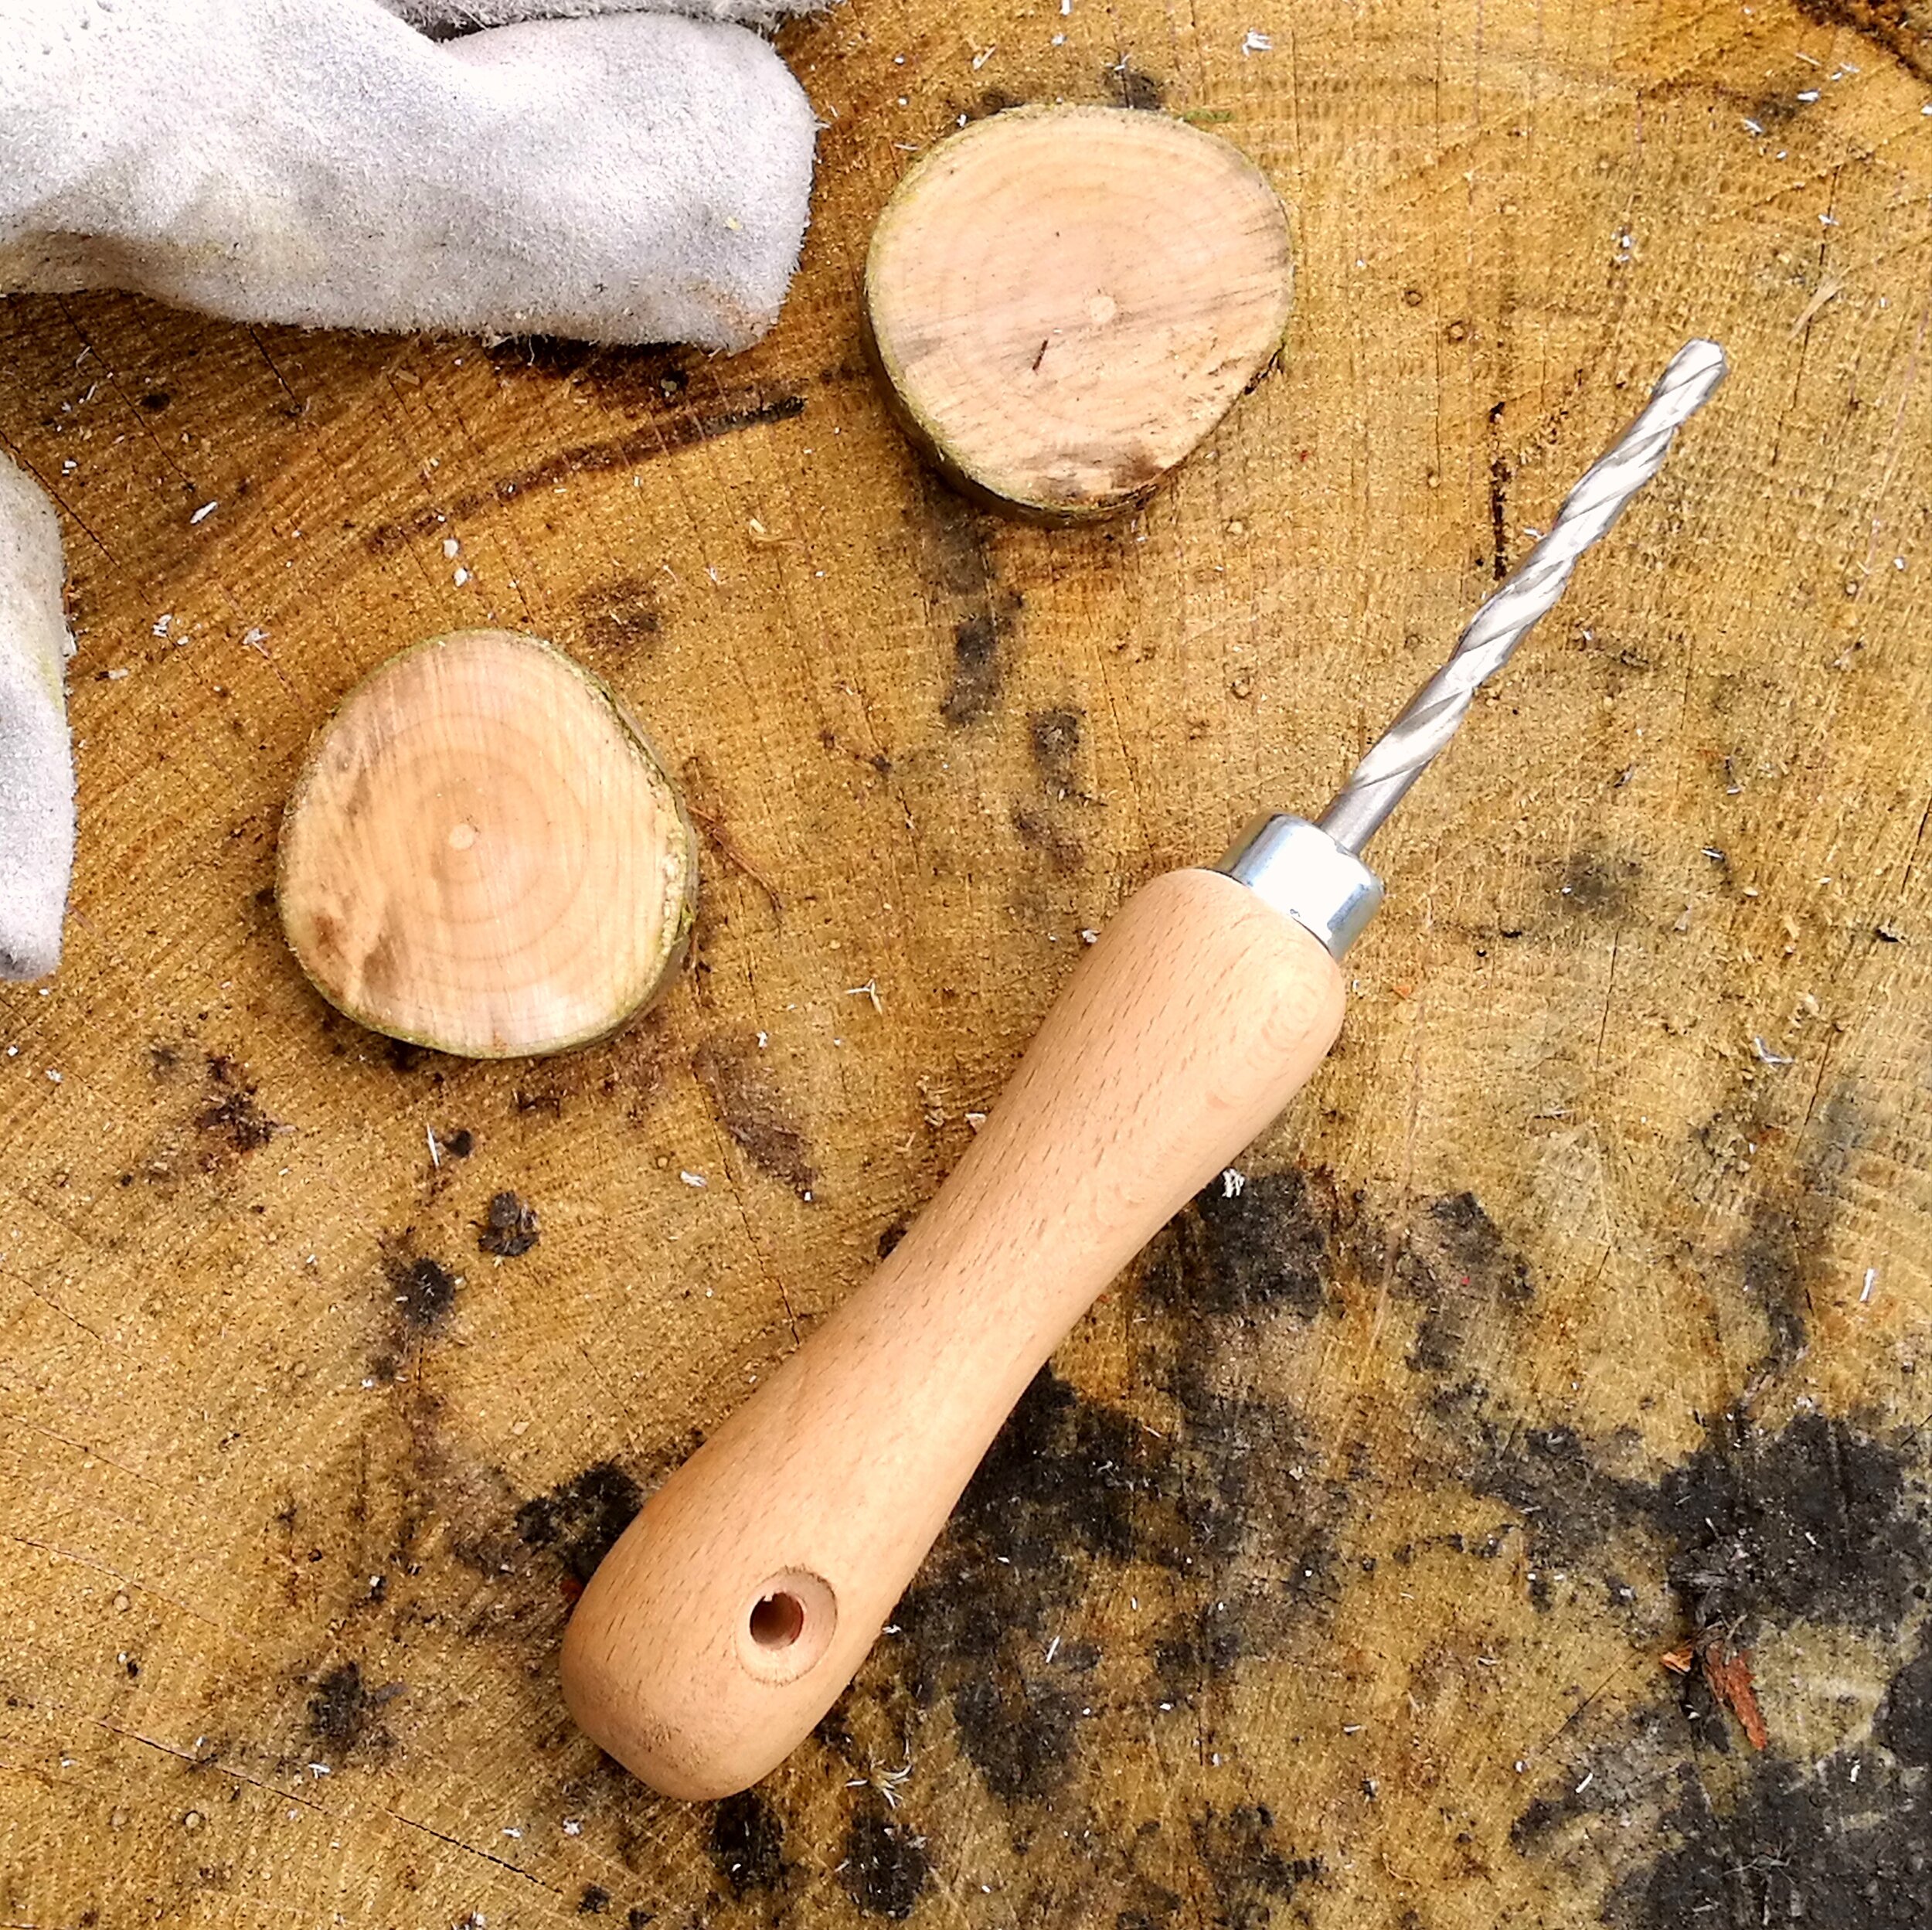
How to use a palm drill or gimlet

CHOOSE AND CHECK DRILL
1. Choose drill by the diameter of the desired hole (if optional) and take it out of the tool bag.
2. Visually inspect the drill, making sure it is intact, without rattle in the handle, and no visible damage to handle or any other part. If no problems are apparent, proceed.*
PREPARE TO DRILL
1. Put a protective glove on your non-working hand.
2. Choose a flat, steady surface to work on. Do not drill into the palm of your other hand.
3. Stand, kneel or sit in a secure position.
4. If desired, mark the hole with a pencil or drill point.
5. Brace wood with your gloved hand.
TO DRILL
1. Hold drill perpendicular to the wood and maintain that position while turning the drill clockwise.

2. Apply a little pressure until the drill bites into the wood.
3. Continue twisting the drill to make the hole.
4. Be aware of your progress and check regularly to ensure you do not continue drilling into the work surface.
5. It may be necessary to finish the hole by holding the wood in your hand while continuing to turn the drill. Proceed with caution.
6. Turn the drill counter-clockwise to remove the bit from the wood.
TO CLEAN AND STORE
1. Look at drill bit. Any obvious problem? If no, proceed.*
2. With gloved hand, pick blade free of sawdust.
3. Ensure drill is dry before storage – it may be necessary to leave it in a warm, dry place before returning it to storage.
4. Oil may be applied as necessary.
5. Put it away in the toolbag.
*Report any problems to your Forest School Leader
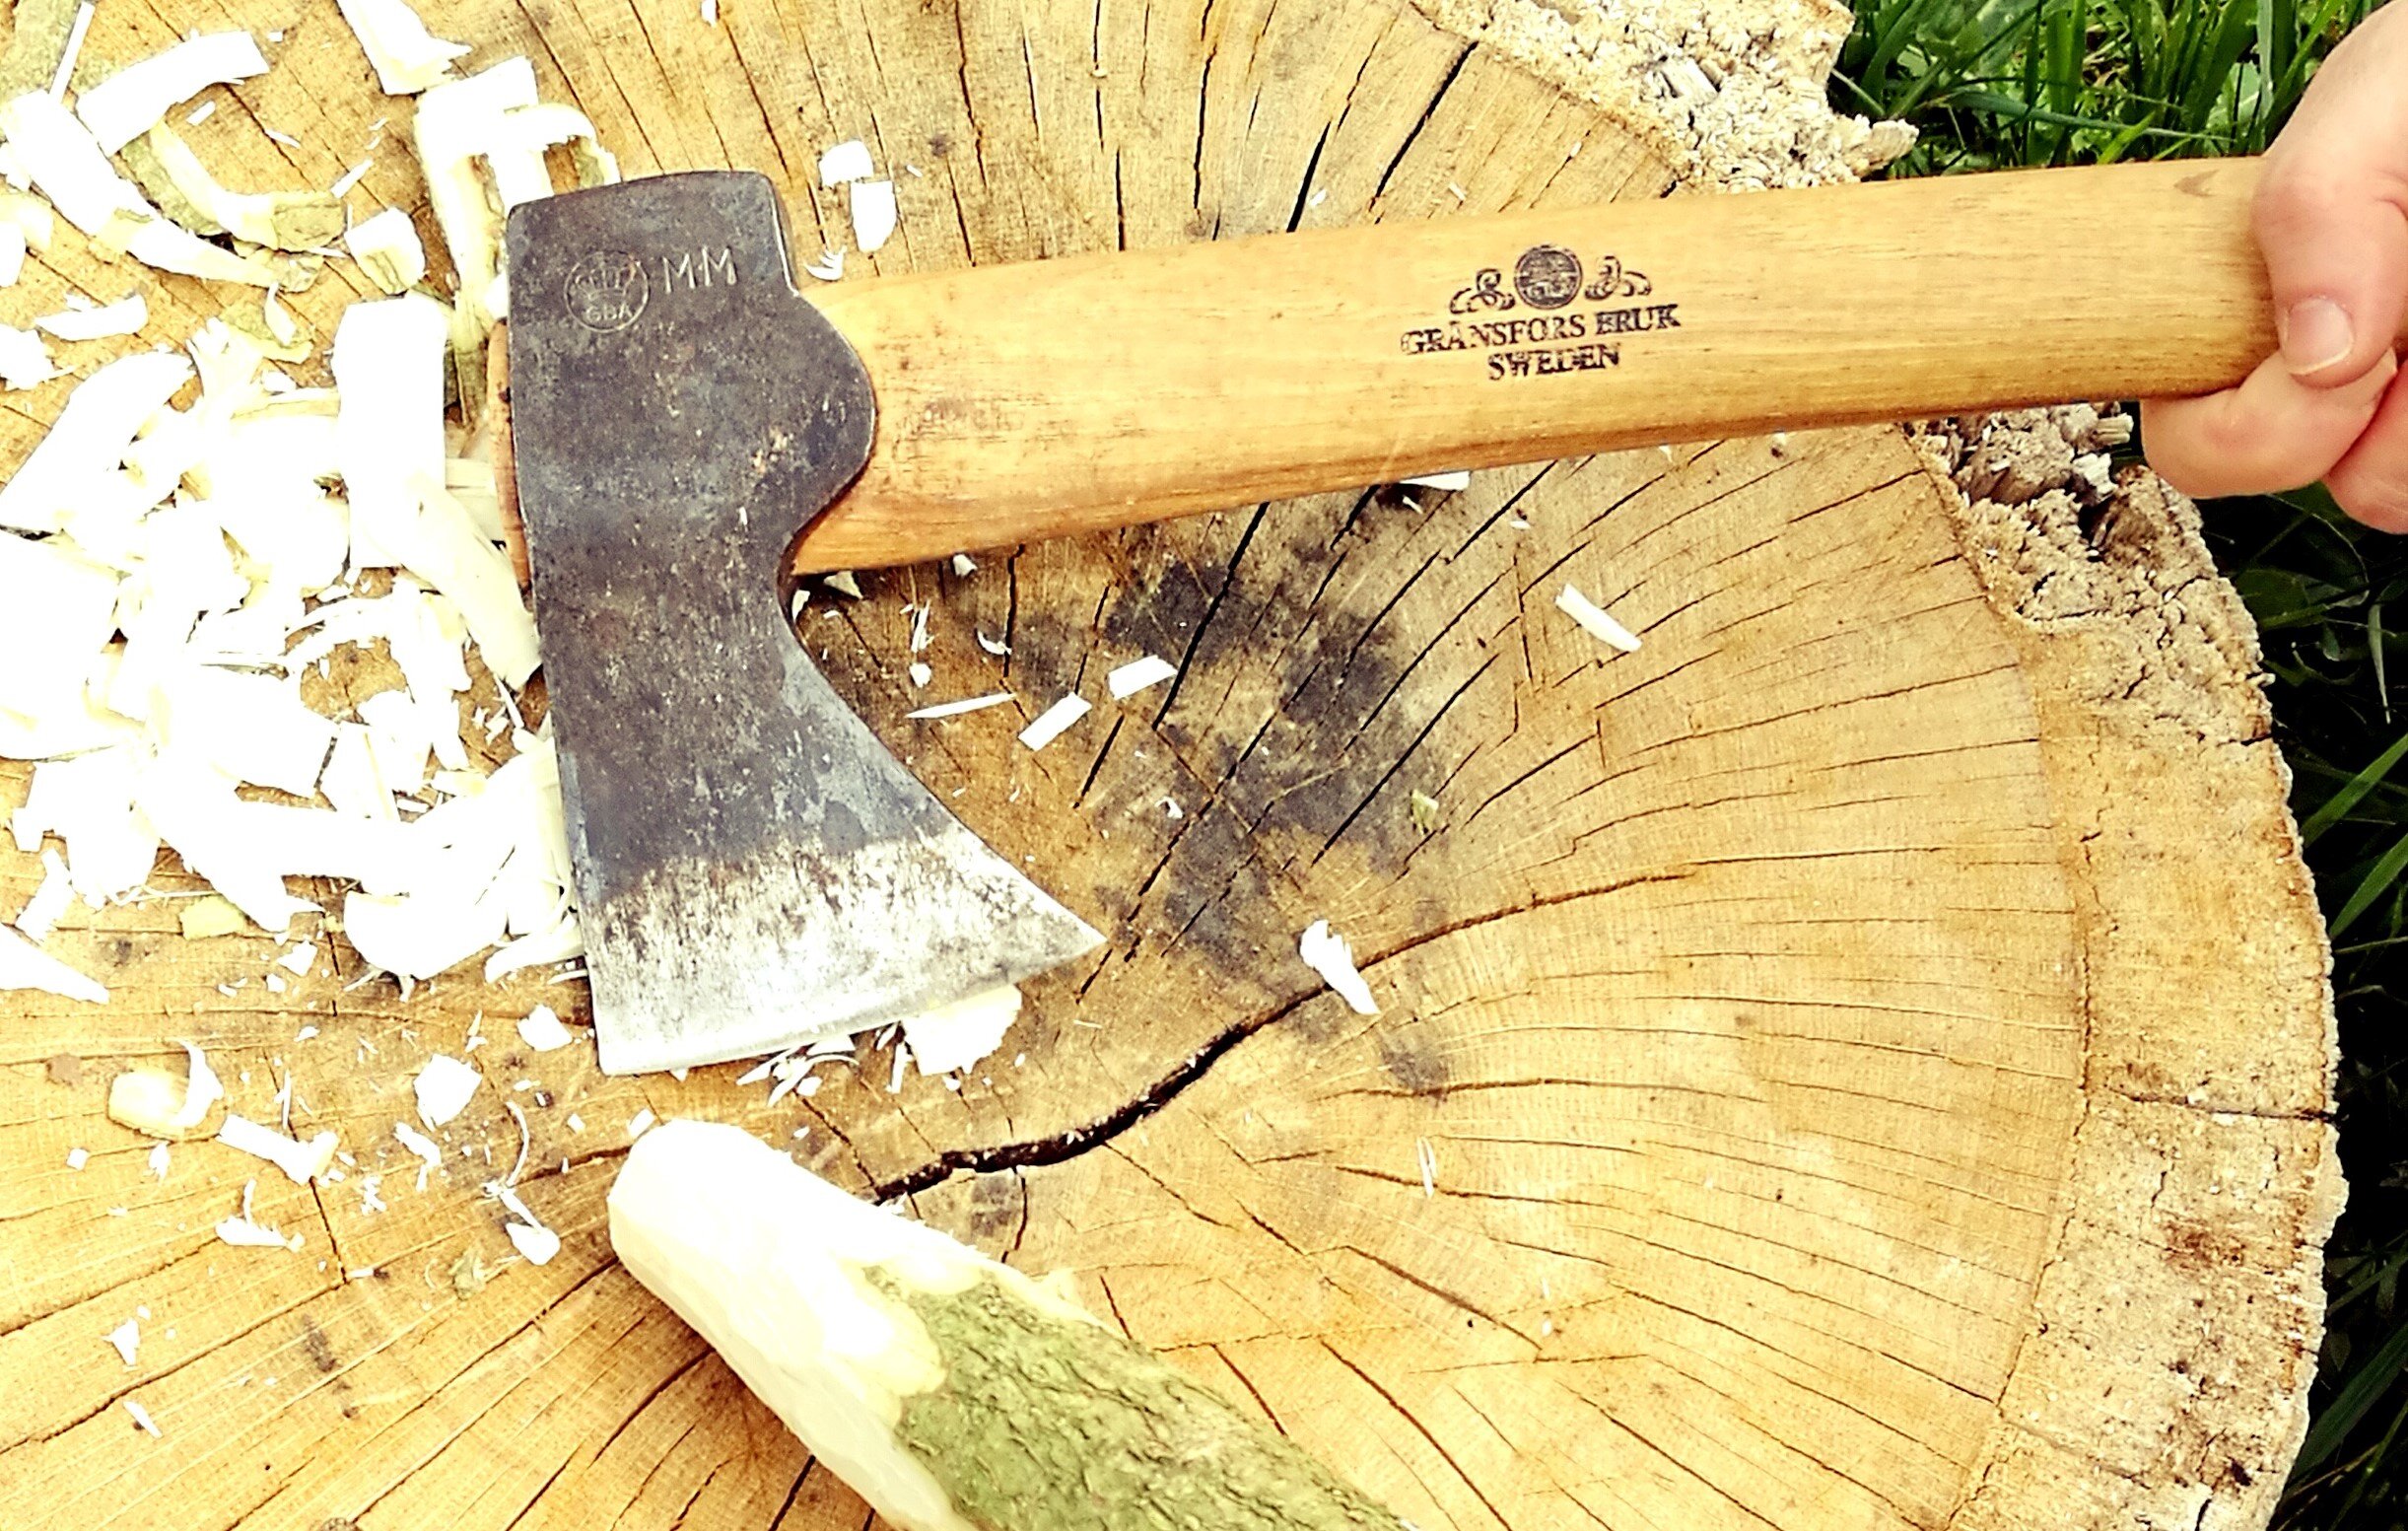
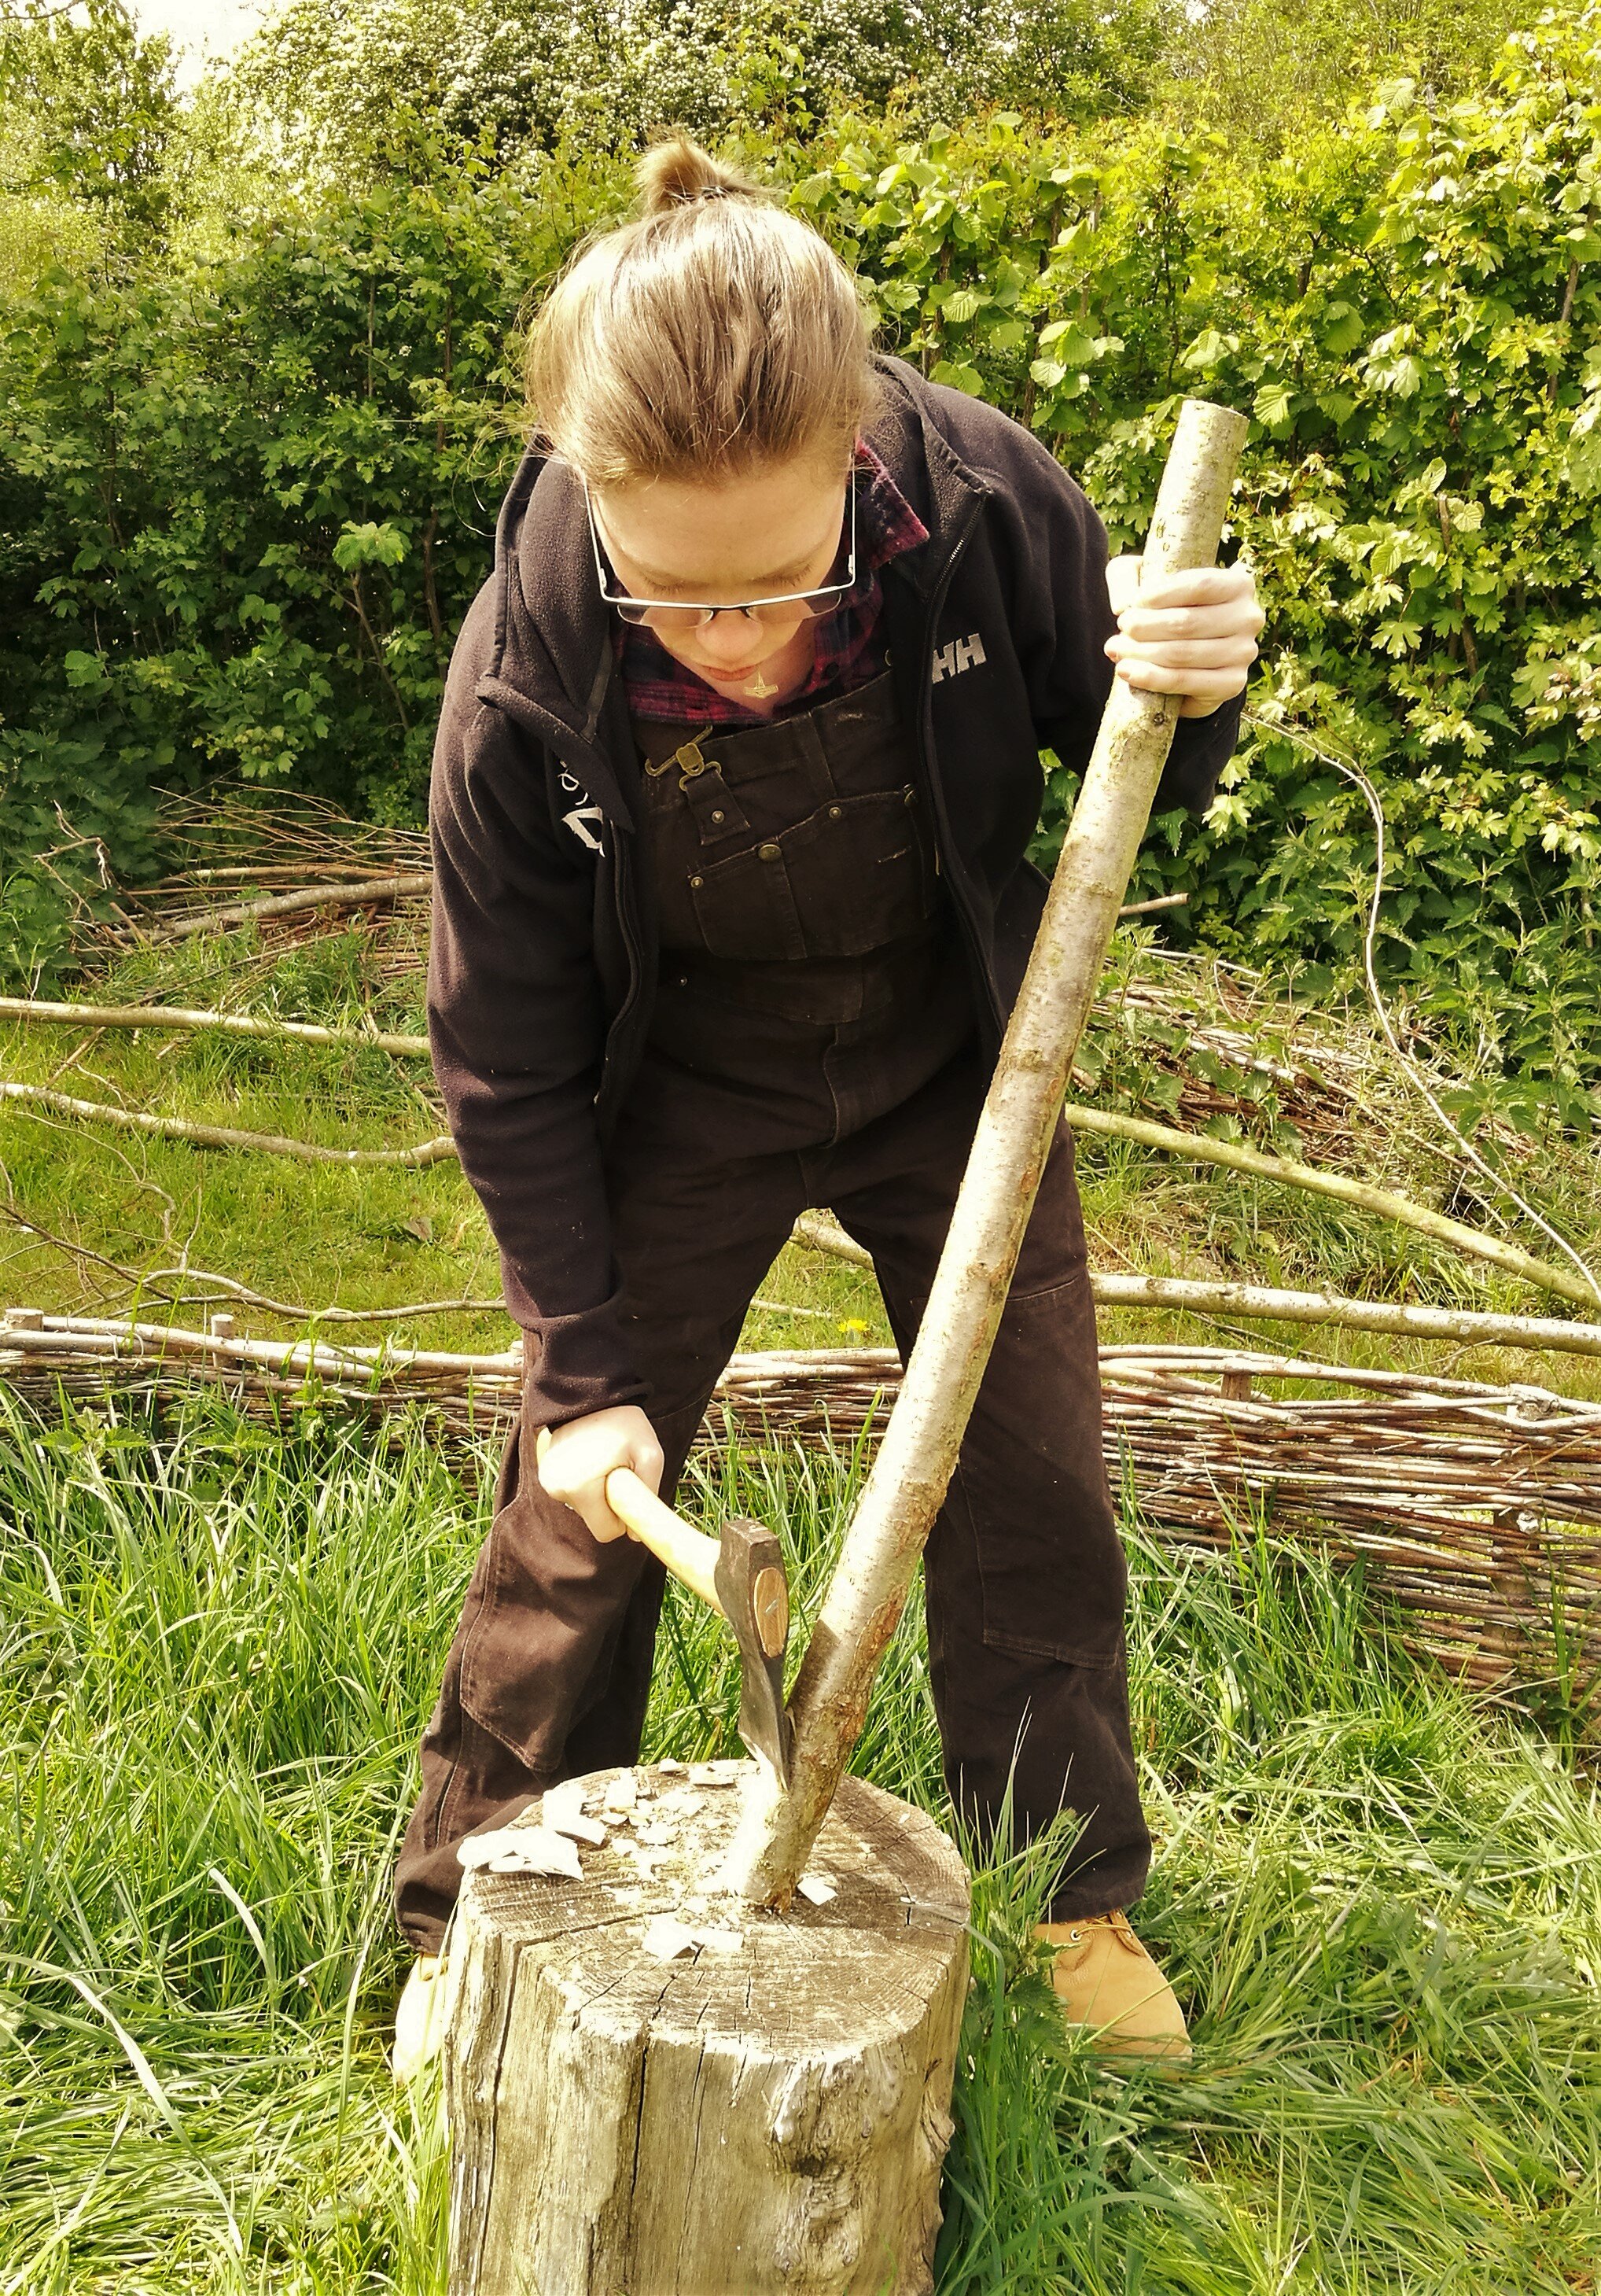
How to use an axe*
*In a Forest School setting, axes must only be used by the Forest School Leader or adult volunteer. An axe is useful for splitting firewood or other timber for craft purposes, shelter building, etc. An axe will quickly put a wedge end on fence palings, sawhorse a-frames, etc. and to delimb timber. PPE required! Steel-toe protective footwear.
CHECK AXE
1. Take axe out of the tool bag.
2. If you need to put it down, put it on a groundsheet.
3. Carefully remove axe mask.
4. Visually inspect the blade. Any nicks or chips? If no, proceed.
5. Inspect the handle. Any cracks, rattle, or other problems? If no, proceed.
6. (OPTIONAL) Check sharpness of blade. Run pad of thumb across NOT down the blade. Blade should catch on ridges of thumbprint.
STAND IN A BRACED POSITION before beginning to use the axe. Replace axe mask if you need to walk with the axe. Use a stump or securely seated piece of timber to work on for stability and to catch any missed swings or through-swings.
TO CUT
1. Ensure that no one is standing within arm’s length (i.e. your ‘blood bubble’)
2. Hold wood firmly in non-dominant hand (i.e. left hand if you are right-handed, right hand if you are left-handed). Keep hand away from end you wish to cut.
3. Stand so you are cutting parallel to your body and a missed swing will swing past and away from your leg/foot.
4. Hold axe closer to blade for less power/more control, or further down handle for more power.
5. To put a wedge on the end of a timber, keep angle of blade shallow to avoid catching the blade on wood. Allow the weight of the axe head to do the most work.
6. REST if your arm tires to avoid sloppy/dangerous swings.
TO CLEAN AND STORE
1. Look at blade – any nicks, chips or bend? If no, proceed.
2. Wipe blade free of dirt and moisture with oiled cloth.
3. Replace blade firmly in axe mask.
4. Return axe to tool bag.
5. Sharpen regularly to maintain a good working edge.