Ropes and Knots and Cordage
As with most Forest School materials and tools, common sense should inform the care of ropes and cords.
Cordage length and style should be chosen, as much as possible, based on intended use. Non weight-bearing applications such as tying out a tarp are best served by paracord or other thin rope, while weight-bearing applications (including rope swings) are best served by thicker rope rated appropriately for its intended use. While some applications have aesthetic considerations (e.g. boundary ropes) and would therefore suit natural cordage (cotton, jute, hemp), brightly coloured ropes are easier to see, and synthetic fibres such as nylon and polyester are harder-wearing, stronger, softer on the hands and less expensive. Avoid making cuts to long pieces of rope which may see further use of its full length. A rope which is too long for an intended use can be shortened using a knot, or the excess neatly coiled and placed out of the way. Small chunks of rope can be used for play purposes, knot-tying activities, and needn’t be new or of the highest quality.
Ropes should be checked before use: look for weak spots, fraying, knots and kinks by running the length of the rope through your hands. A rope which is past its prime can find other, non weight-bearing uses, but should be replaced in some applications in the interest of safety. Sunlight and wet can fade and rot a rope left outside. Best practice is to take down, dry, coil and store ropes between uses.
Ropes must be stored appropriately: always keep ropes neatly coiled and hang them to store, if possible, to keep them dry and untangled, and to stop them from being a tripping hazard in your storage area. Ropes should be stored out of direct sunlight. Ropes should be left to dry completely before coiling and storage. Muddy ropes can be cleaned by soaking in water, or hosing them down before they are dried, coiled and stored.
Closed clove hitch
USED FOR:
securing a rope to a branch, pole, or other sturdy rod or rail (especially when neither end is free to pass a loop over it)
Fasten a tie-down around a button stone at the corner of a tarpaulin

TO TIE:
Wrap the working end over and around the stick, crossing the standing part at the point nearest you at an angle.
Continue wrapping it around, then pass the working end under the crossed-over section to lie parallel with the first wrap underneath.
Pull tight, and the working end will be held down securely.
Round turn, hitch (or two half-hitches)
USED FOR:
· securing a rope to a branch, pole, tie-point or other sturdy rod or rail.
· Tying out a tarp and other shelters, securing loads, rope swings (or any application where the tie point needs to be secure but easily undone.

TO TIE:
· Wrap the working end over and around the stick twice, making a complete wrap.
· Pass the working end over the standing part, then back around and through the gap.
· (two half-hitches) Pass working end again over and around the standing part, then back around and through the gap.
OR
· (hitch – as in photo) Pass the working end under and around the standing part, then down through the gap
· Pull tight, and the working end will be held in place securely.
Wraps and fraps
USES AND TIPS:
Secure two cross timbers together at a right-angled crossing point, such as for an a-frame
Use a smaller gauge twine, rope or paracord for tightest results
Make sure twine is long enough for several passes around the timbers for strongest results

TO TIE:
Choose a crossing point for the two timbers
Tie twine around base timber, near crossing point
To wrap, bring working end of twine up over top timber, down and around base timber on other side of top timber, up over top timber again, and back around, creating a ‘square’ looping pattern
Repeat at least twice more
To frap, loop working end between the two timbers, to wrap around the loops at their mid-point, at right angles, ‘strangling’ them and tightening the initial wraps
Repeat at least twice more
Tie off working end to tail end using a reef knot
Bowline
USES AND TIPS:
· Create a loop of knot that will not loosen or tighten under weight, but which is easy to undo
· Secure a rope around a tree, person’s waist, or to create a loop at the end of a line to be staked out
· Measure needed amount of rope before beginning by putting the rope around the tree, etc. and allow an extra quarter or so of that length for forming the knot. Final circumference can be adjusted once the knot is loosely tied, but not under pressure

TO TIE:
· Measure how much of a loop you will need, then add on an extra length of working end
· Loop the rope over your fingers (Make the mouse’s hole)
· Pass working end up through the loop you have made (The mouse comes out to check for danger)
· Pass the working end under the standing part of the rope (The mouse scurries under his log)
· Pass the working end over the standing part and back down through the loop (The mouse climbs over the log and back down into his hole)
· Pull working end and standing part in opposite directions to tighten (Mouse gets himself all safe and snug)
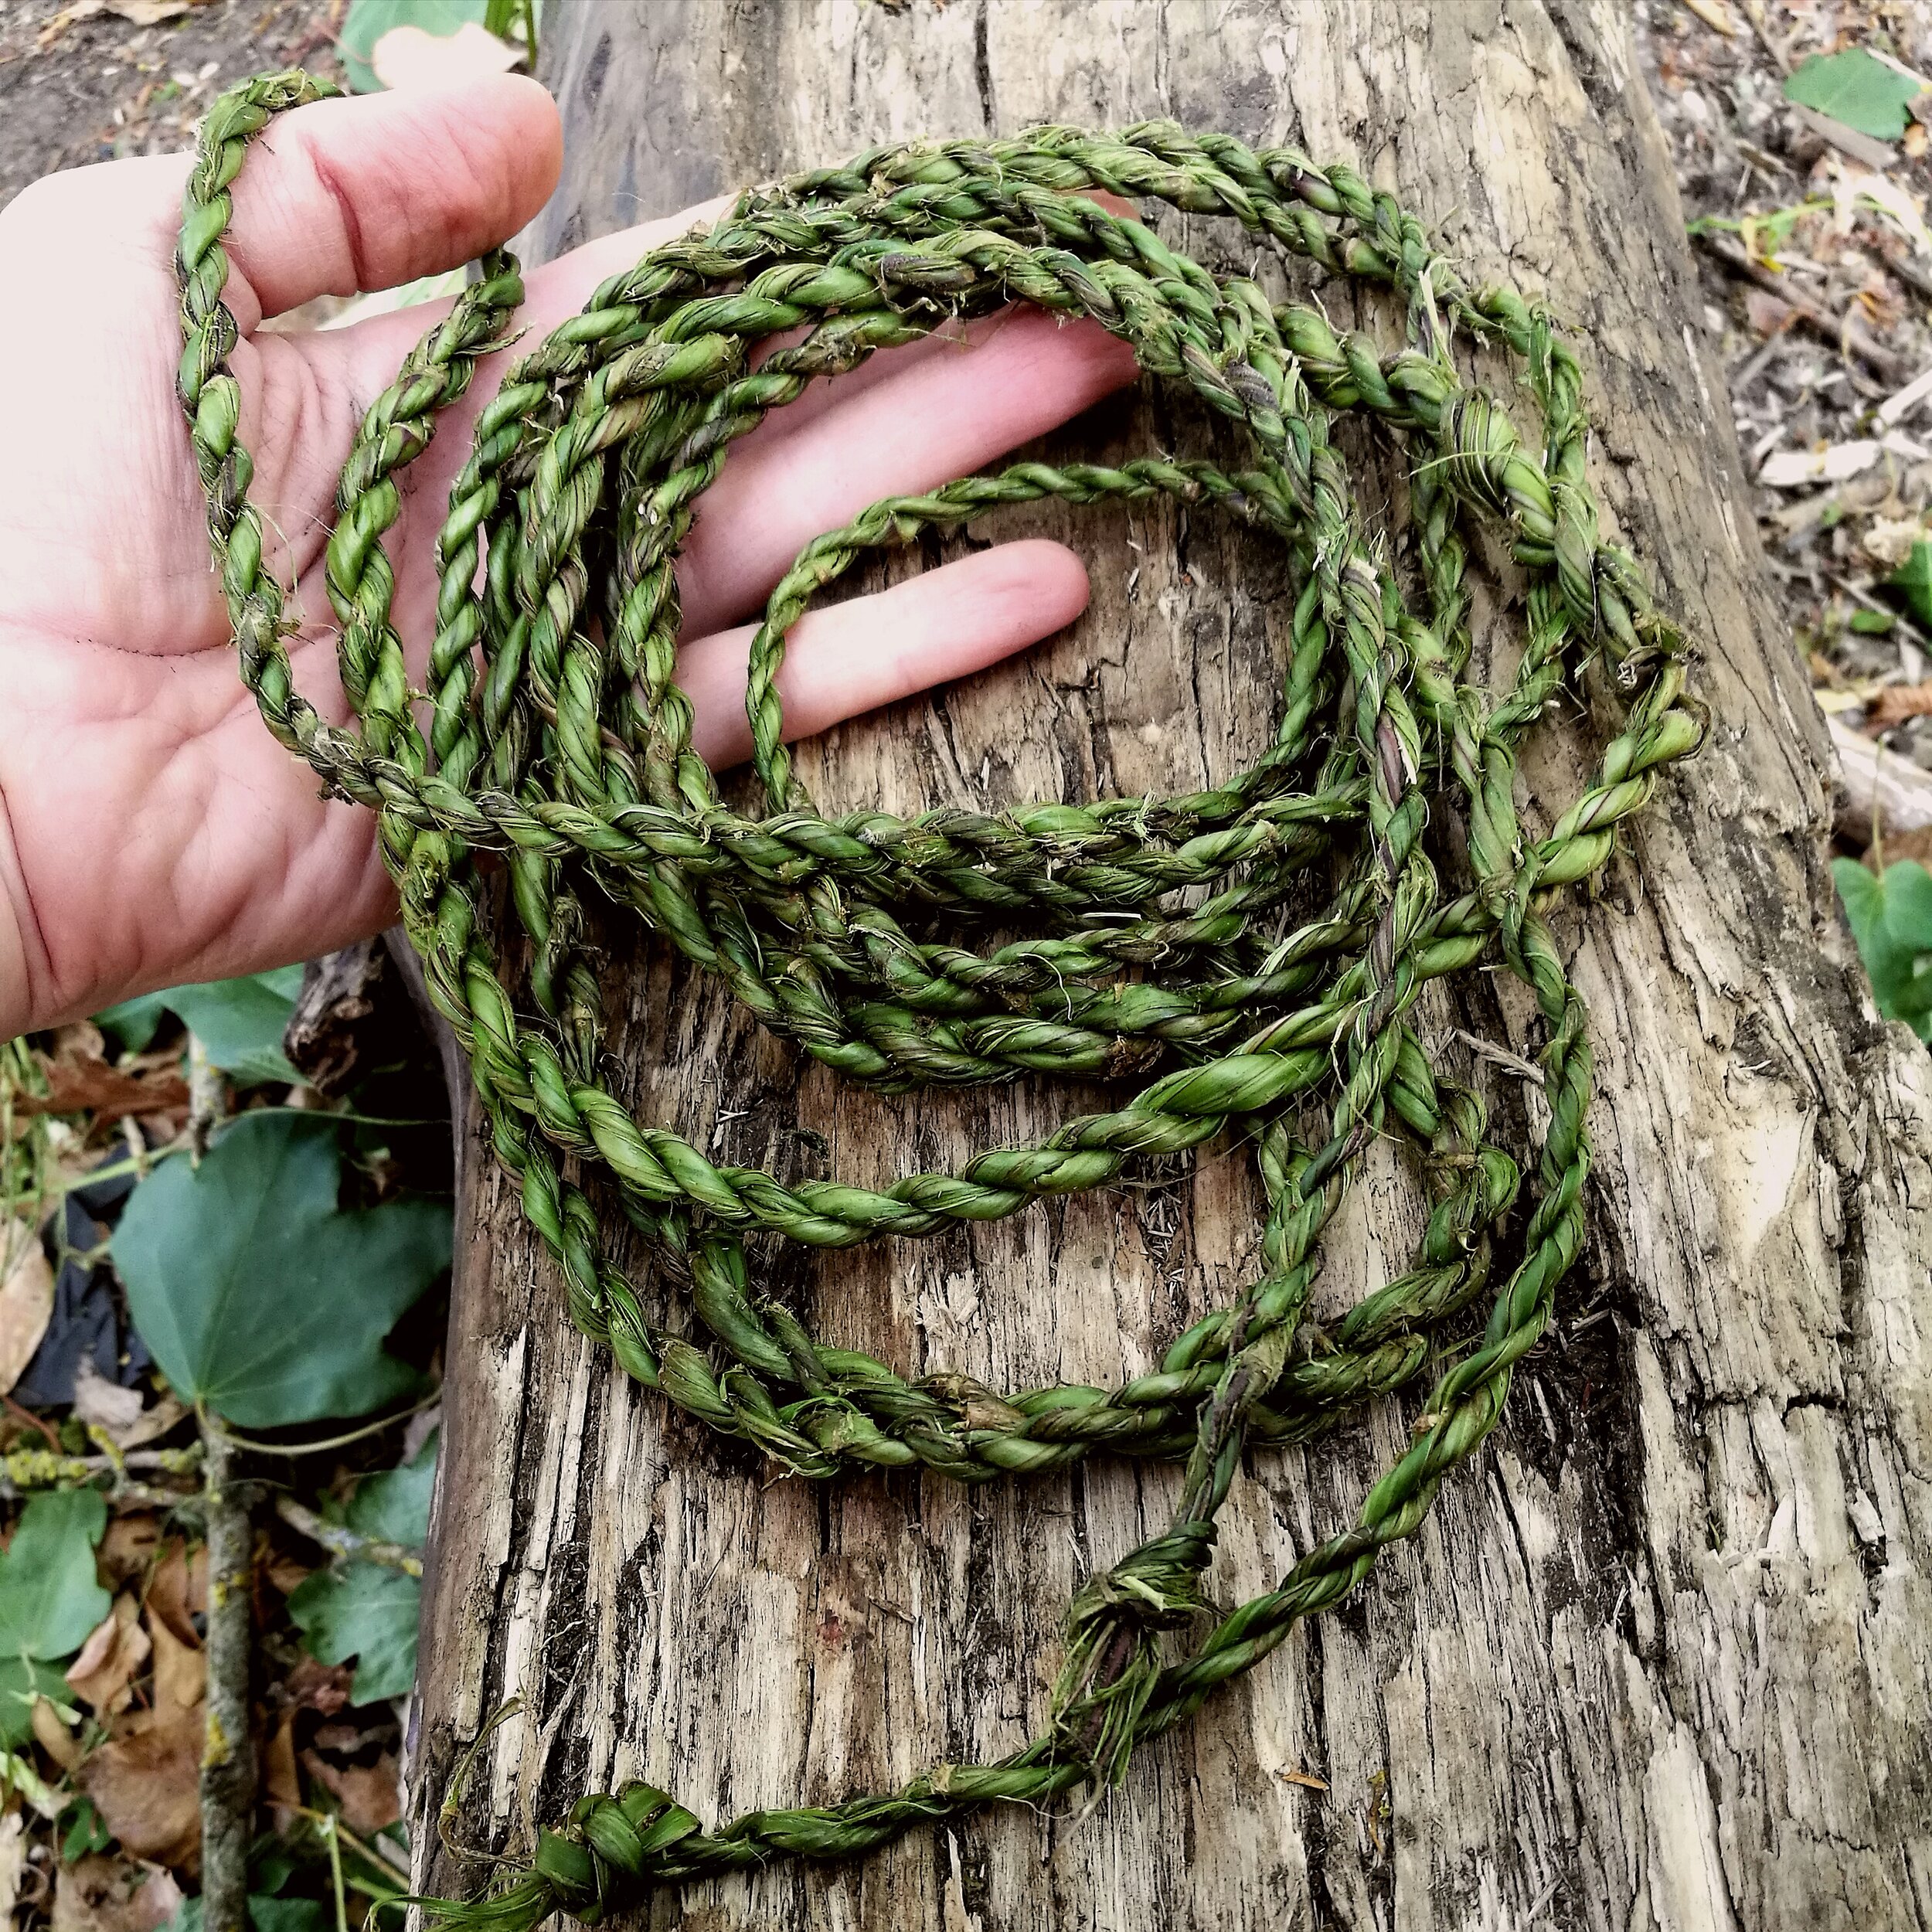
Natural Cordage
One of my passions in life is for natural fibre and making string or yarn. I’m an avid spinner, both on the drop spindle and spinning wheel, and it’s hard to get me through a field of sheep without me stopping to pick up a bit of wool to twirl between my fingers as I walk. I have taught spinning lessons which were essentially history lessons, talking about the importance of cordage for human development. It is perhaps the oldest and most versatile technology created by humans, and it’s possible to experience the joy of crating in the same way as our most distant ancestors, using even very simple tools, or none.
TOOLS/SKILLS USED:
Knife (optional)
Gloves
Mallet
Twist locking
Any knot you fancy
Some uses for item:
Necklaces and bracelets
Securing shelter frame
Natural tool making
Hanging items
Ratios: In a Forest School scenario, participants may (under direct supervision as necessary) use a knife to harvest suitable lengths of natural material. ALL clients may be involved in finding and choosing plant material, preparing the fibre (bashing, stripping), twisting the cordage, and proceeding with any variation on this craft.
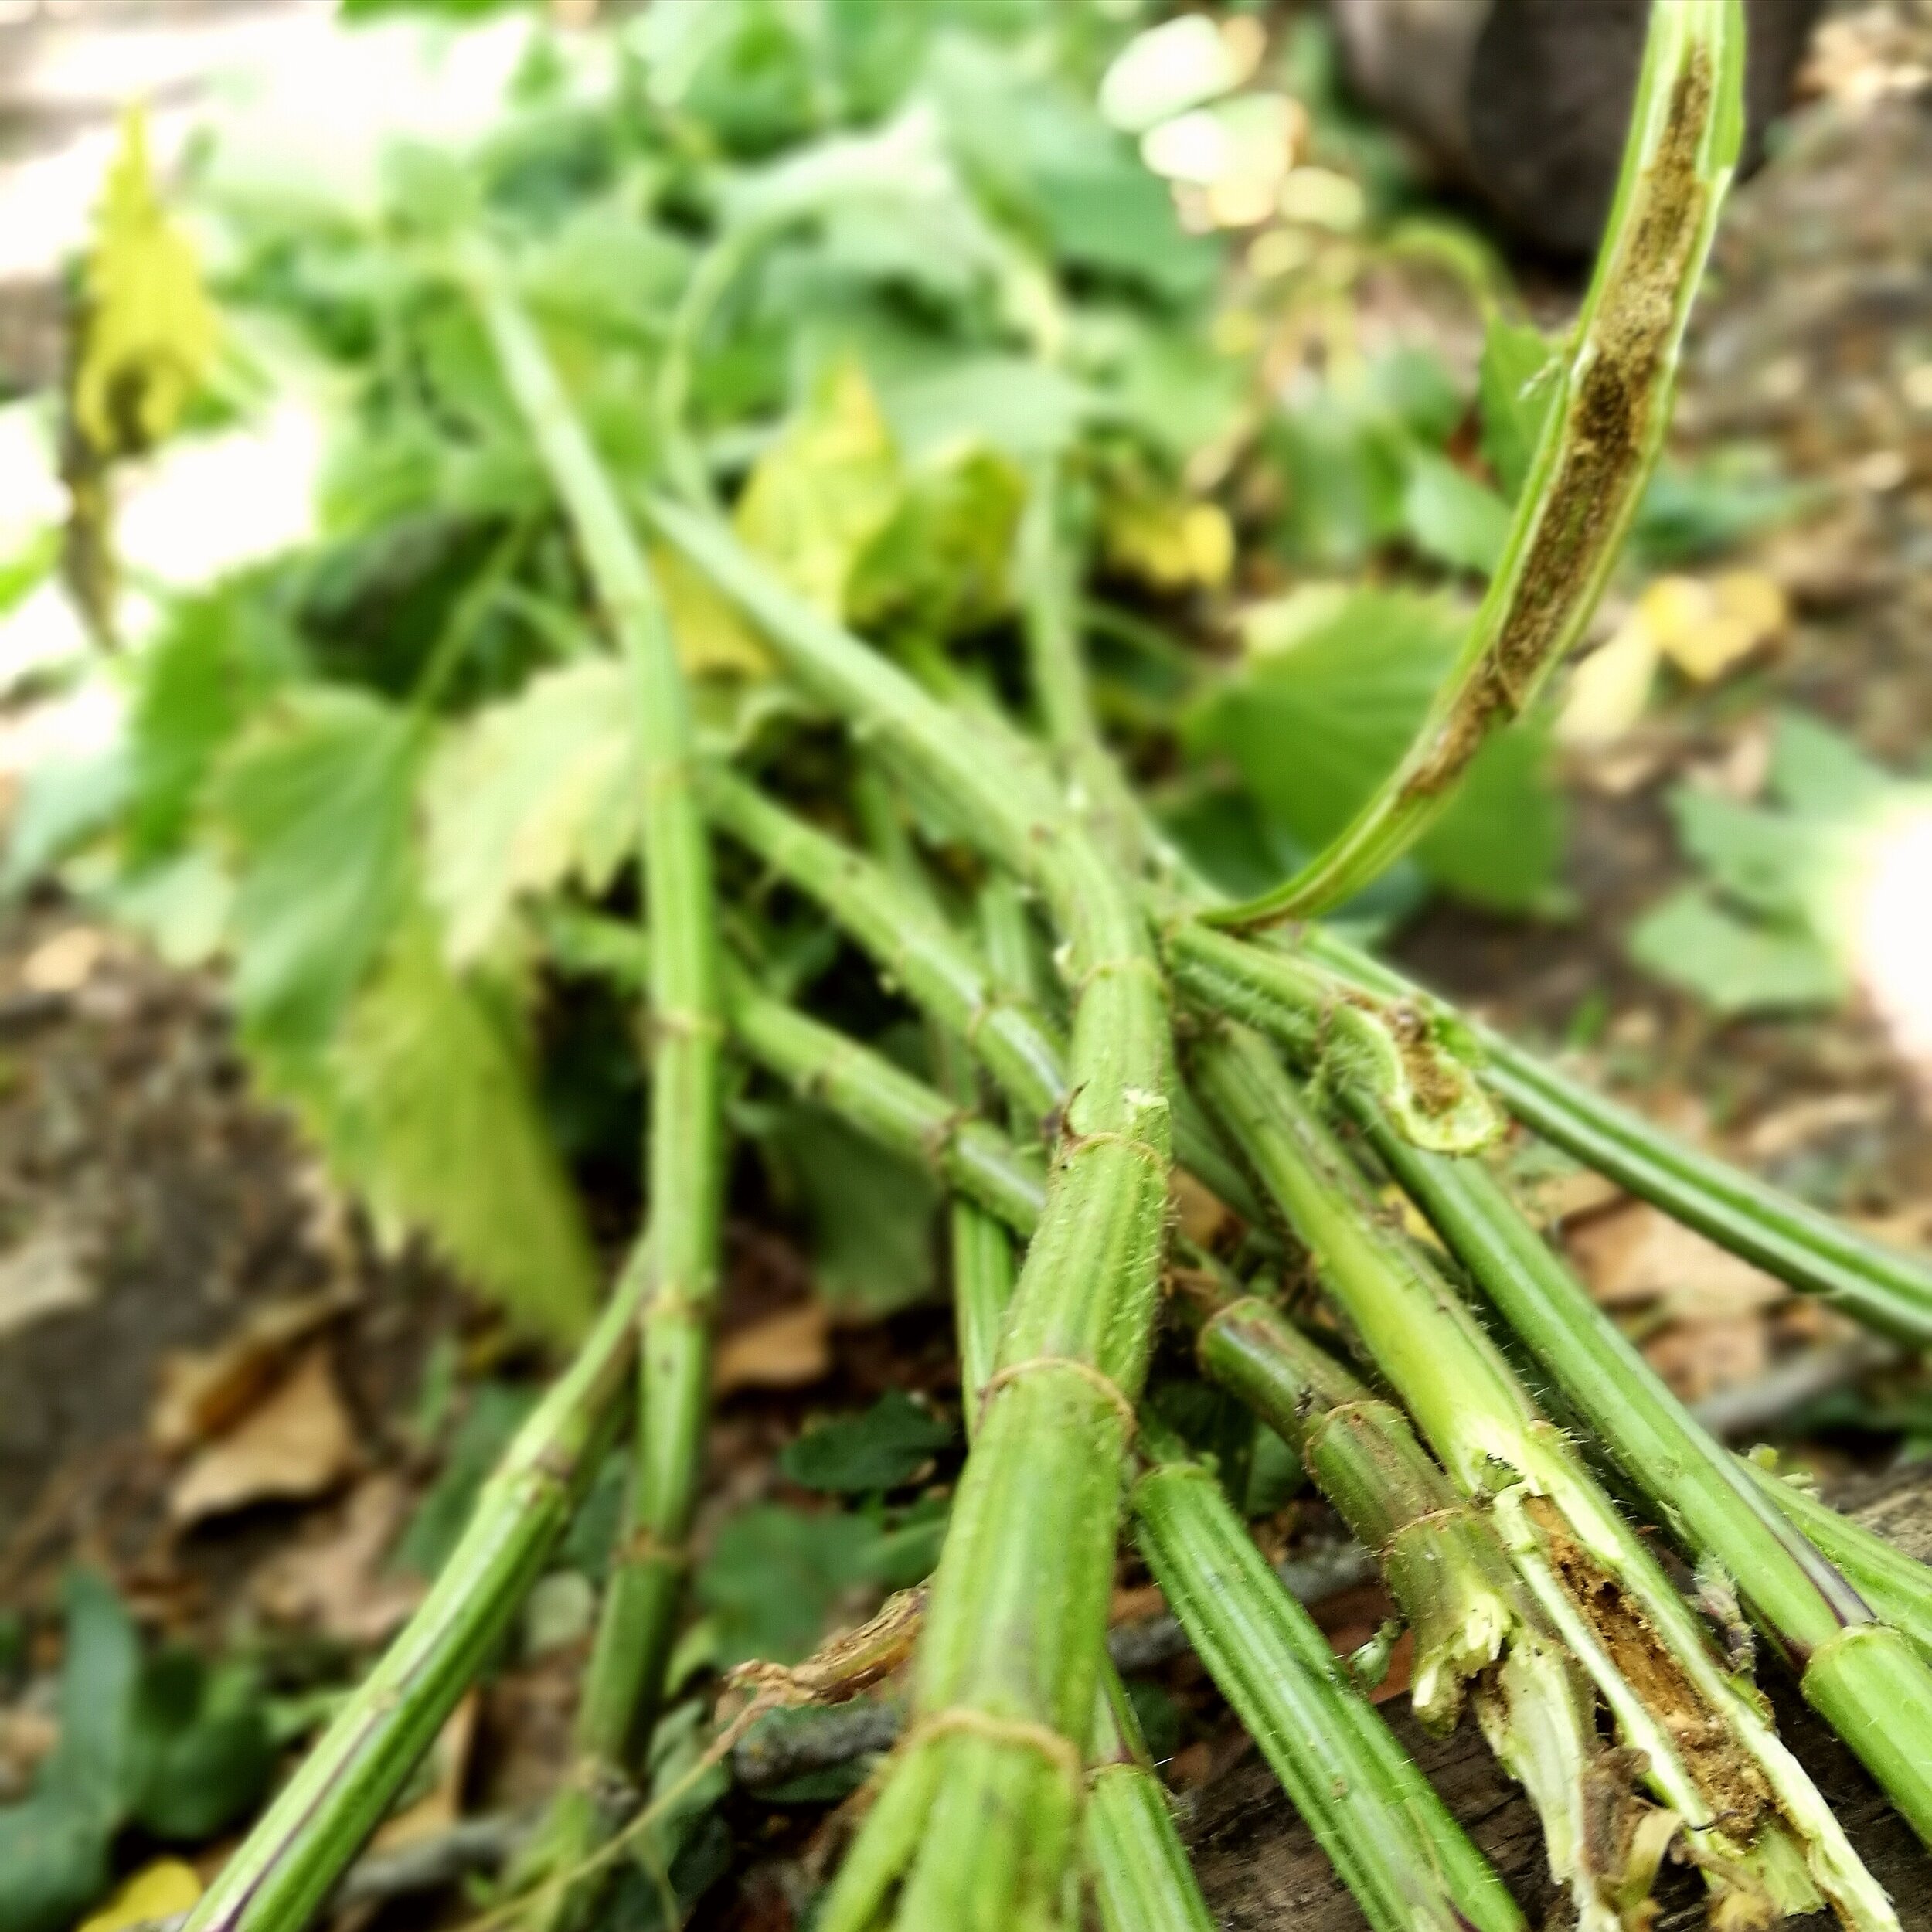
SELECTING AND CUTTING CORDAGE MATERIAL
Some herbaceous plants make excellent cordage. Look especially for nettles and bramble stems.
NOTE: Be aware of clients’ allergies (check medical forms and ask clients directly) and be on the lookout for allergic reactions. A client may prefer to begin his or her involvement beyond the collection stage.
Wearing PPE (gloves, long sleeve shirts and trousers, closed shoes), clients use KNIFE to cut near the base of long, strong nettles or bramble canes, taking care when pulling these free from an entanglement that no one is hit on the way out.
BASH AND CORE THE STEMS

Use a MALLET, a log, gloved fingers, two sticks or a boot to crush the stems.
Remove the spongy pith from the centre of the stem; you should be left with just the fibrous outer part of the stem, limp and juicy.
Pass the fibrous material through your gloved fingers a number of times until all prickles or thorns have been removed.
6. Repeat until you have enough material to work with on your project.

TWIST LOCK YOUR FIBRE
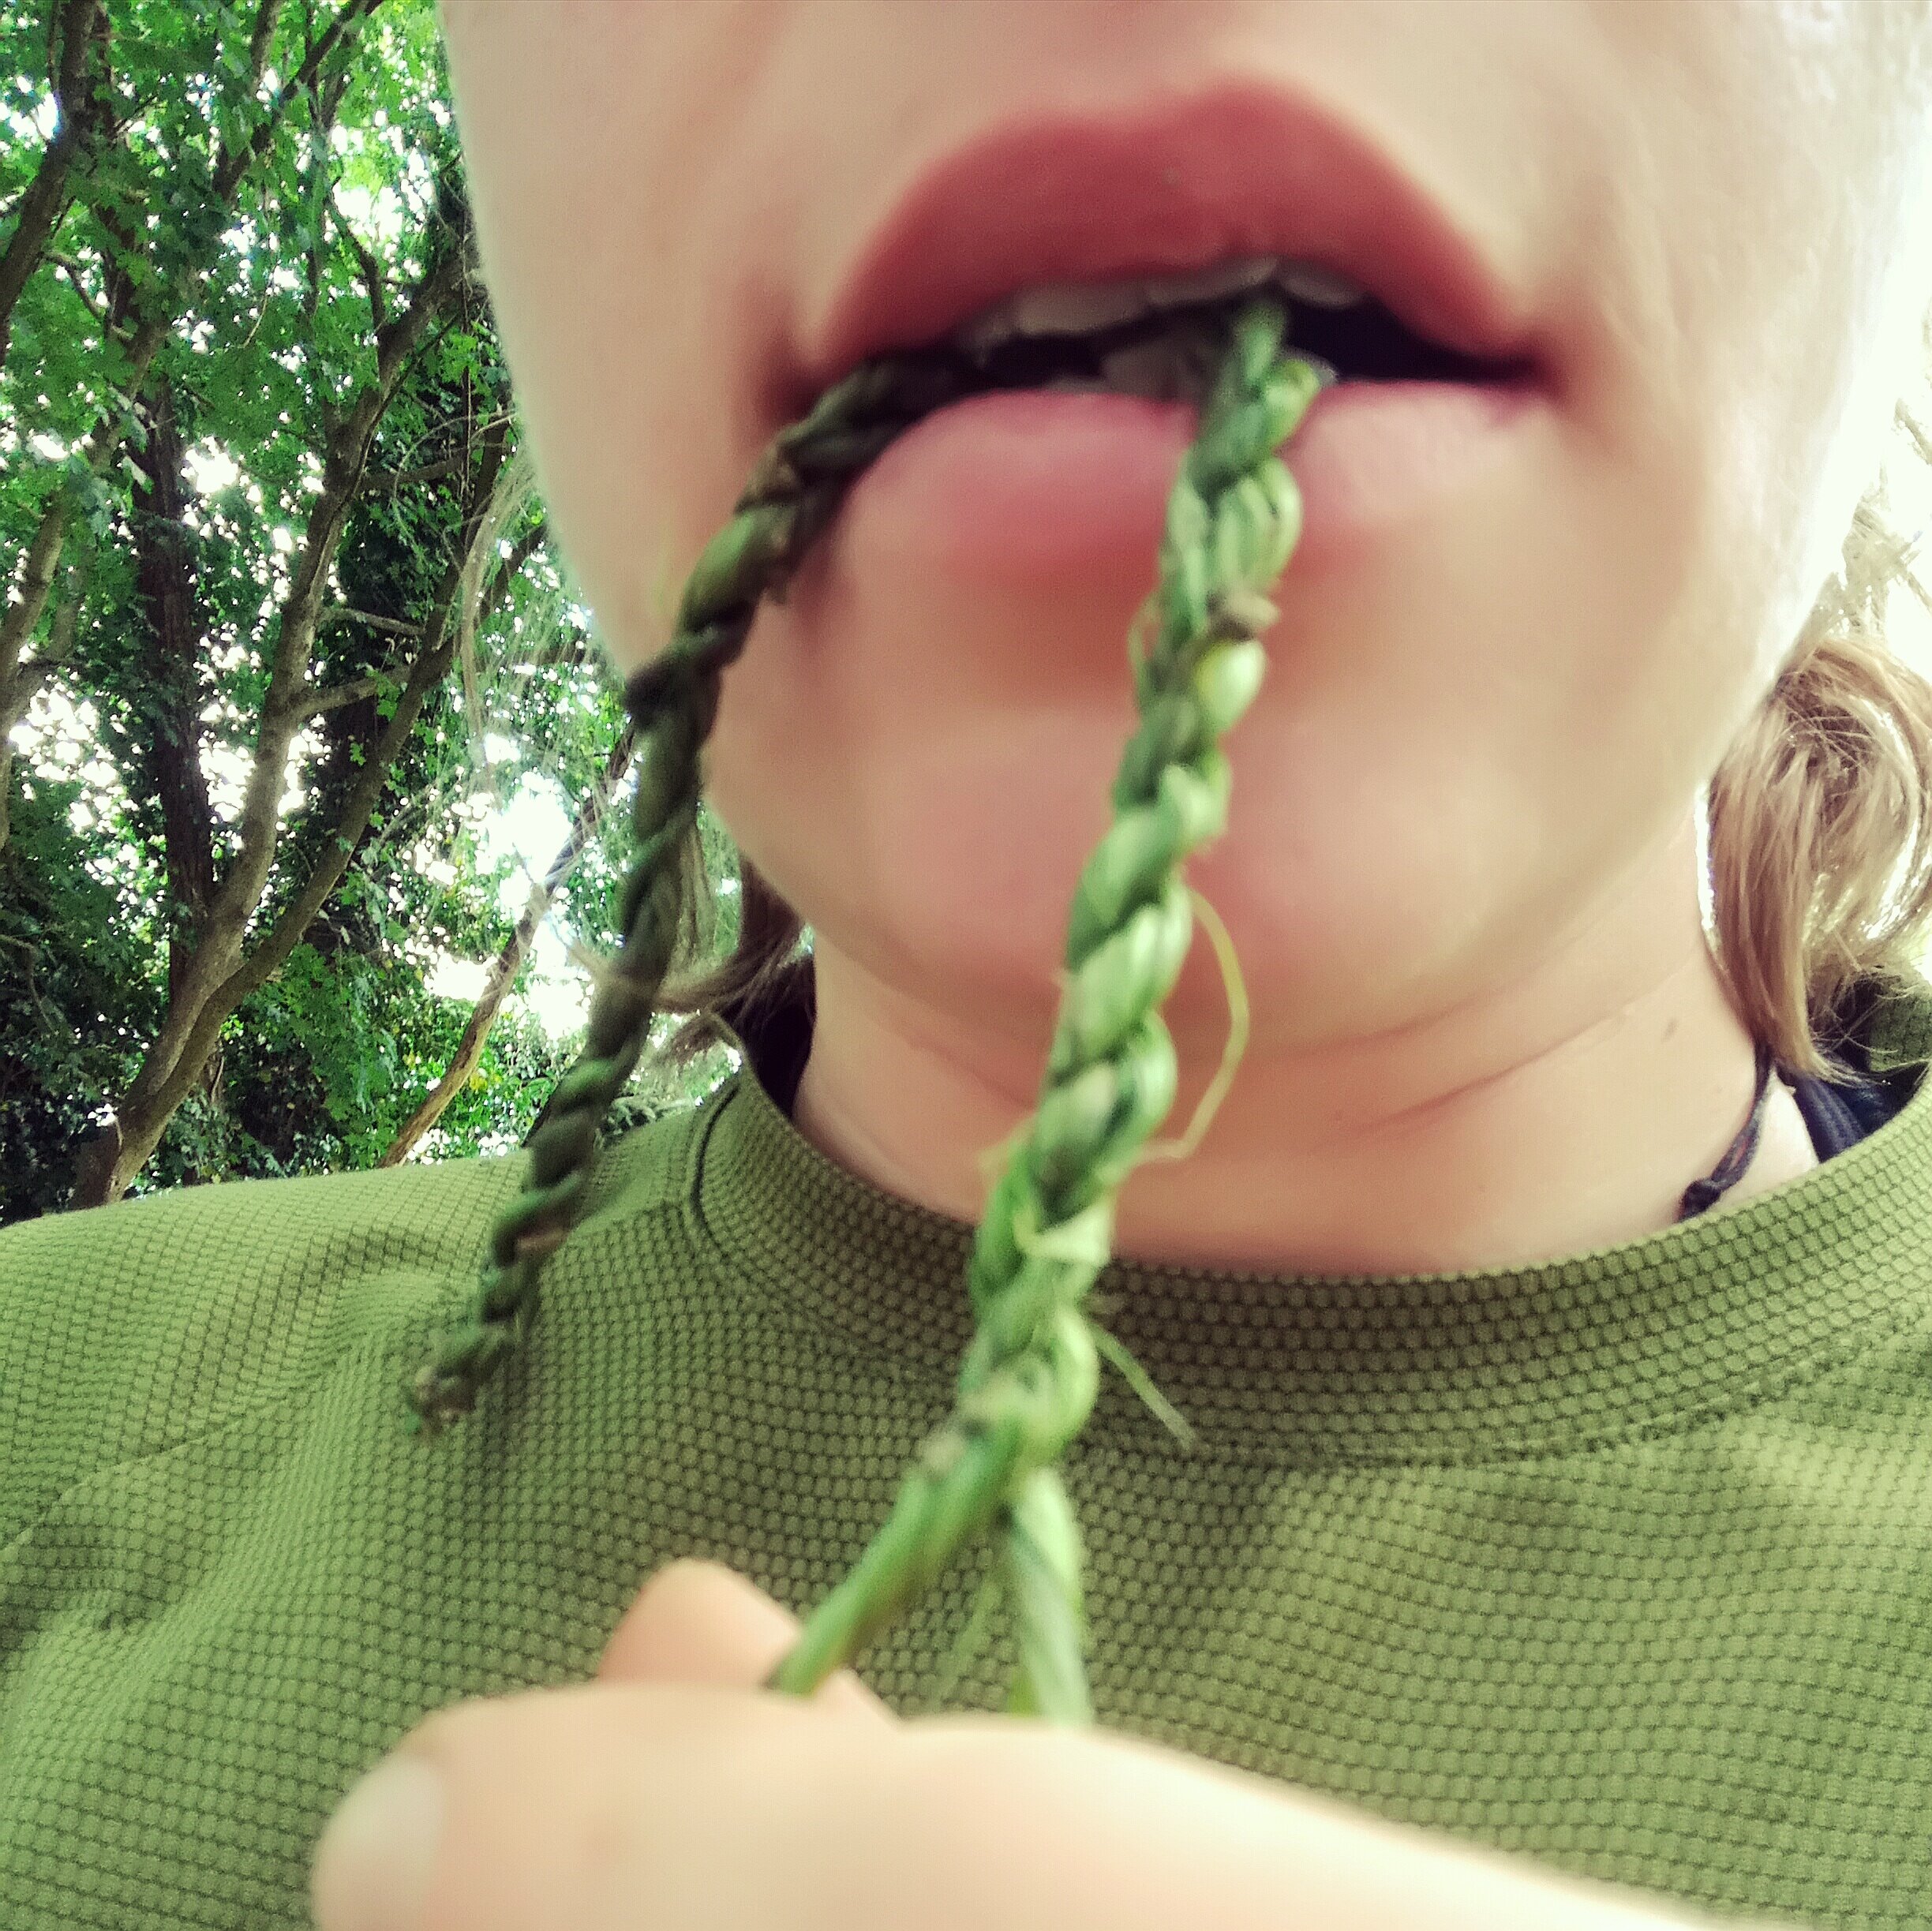
Hold two bits of fibre firmly between your lips, or use a clamp or a friend to hold them tightly.
Hold the two lengths a few inches down from the clamp, and twist BOTH lengths of fiber with your fingers counter-clockwise, keeping each length separate as you do. When both sides have a good amount of twist, twist them together clockwise. If done correctly, they should ‘want’ to twist together, forming a twisted cord.
Repeat until nearly at the end of the length of your fibre.
ADDING NEW LENGTHS OF FIBRE

If you wish to create a cord longer than as single stem of plant material, pick up new sections of fibre while you are still several inches from the end.
Lay these alongside the ‘old’ fibre and twist them together counter-clockwise before continuing as usual, wrapping the two sides back over each other clockwise.
FINISHING
Finish by using a simple OVERHAND KNOT at both ends of the cord so it does not unravel.
When this cordage dries, it shrinks and becomes stiff. You may wish to use it and ensure it’s in place before this happens, checking on knots for security after the cord has dried. However, if it remains loose and dries before it has been put to a use, you can soak the dried cord and give it a bashing to restore some of its pliability. It will then be a much more useful and pleasant material to work with.